
Ah yes. Visual Studio 2017. What a good memory. That was a good year before COVID-19 happened.
I still install it sometimes, especially when dealing with older projects that don’t behave nicely in newer Visual Studio versions. Legacy apps are real, and sometimes the safest move is to use the original toolchain.
Here’s how I install Visual Studio 2017 Community Edition, plus how I fix that annoying System.InvalidOperationException startup error that sometimes appears right after installation.
Table of Contents
Video
Not in the mood for reading? Watch the video instead.
![]()
Step 1: Download Visual Studio 2017 Installer
I’ve prepared the official download links for the genuine Visual Studio 2017 installers below. You can, of course, visit the official Visual Studio website, but that usually requires signing in and navigating through several pages to find the correct download.
You can use the Community edition without an active paid subscription, as long as your usage complies with Microsoft’s license terms.
| Edition | Installer |
|---|---|
| Visual Studio 2017 Community | ⬇️ vs_Community.exe |
| Visual Studio 2017 Professional | ⬇️ vs_Professional.exe |
| Visual Studio 2017 Enterprise | ⬇️ vs_Enterprise.exe |
Step 2: Run the Installer
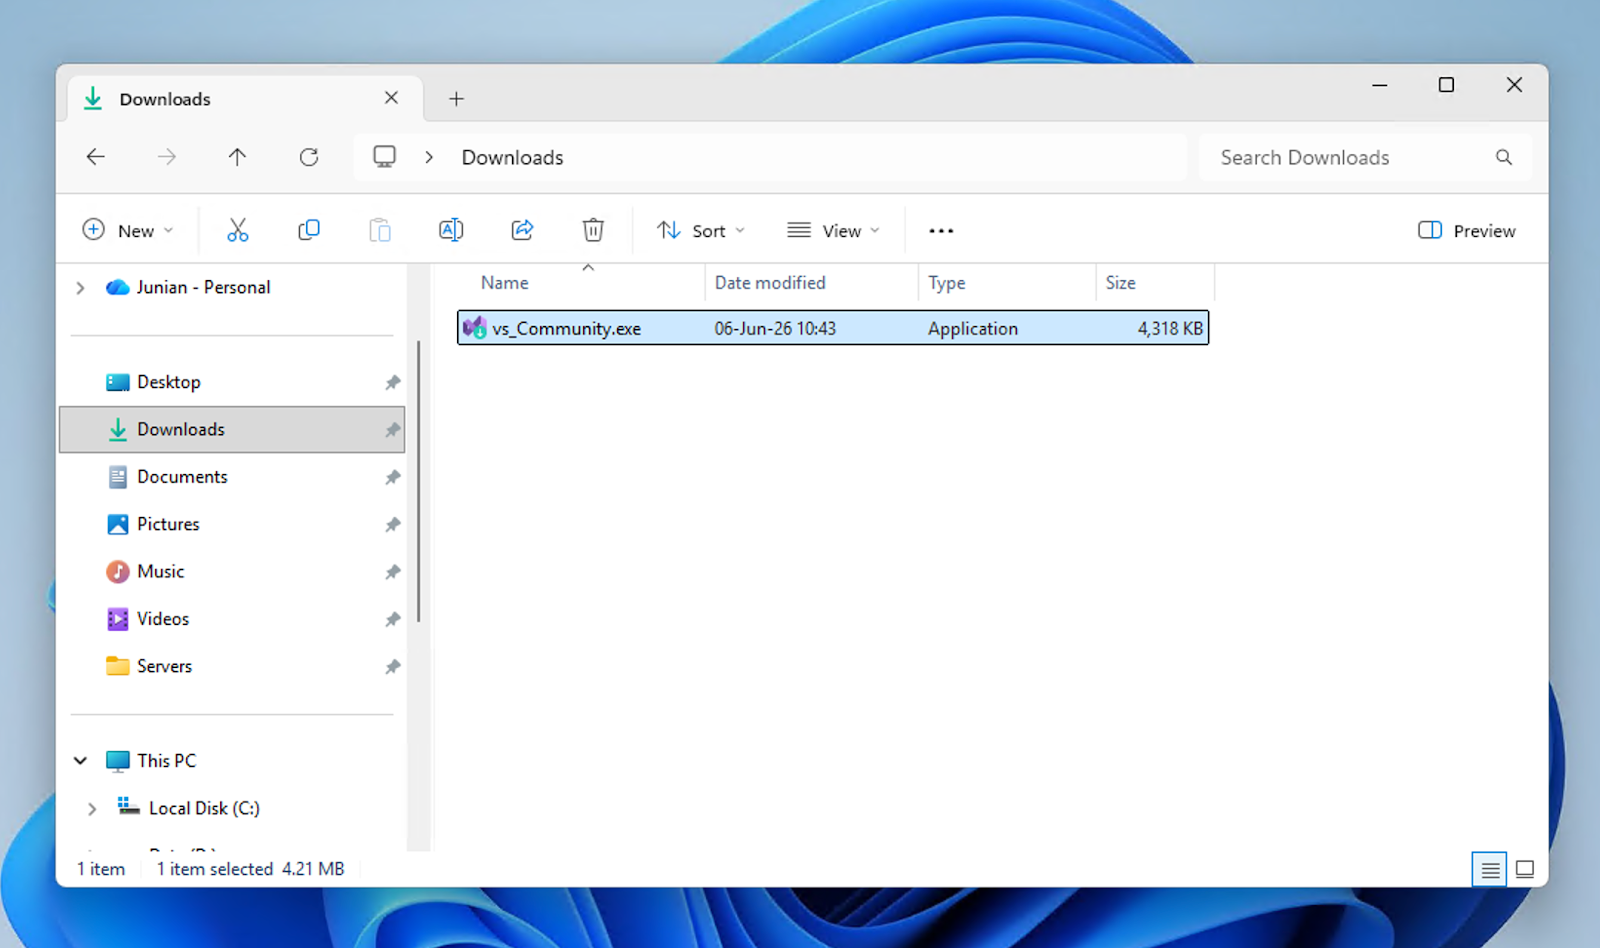
Open the executable you just downloaded.
For example, if you downloaded Visual Studio Community 2017, open the vs_Community.exe file.
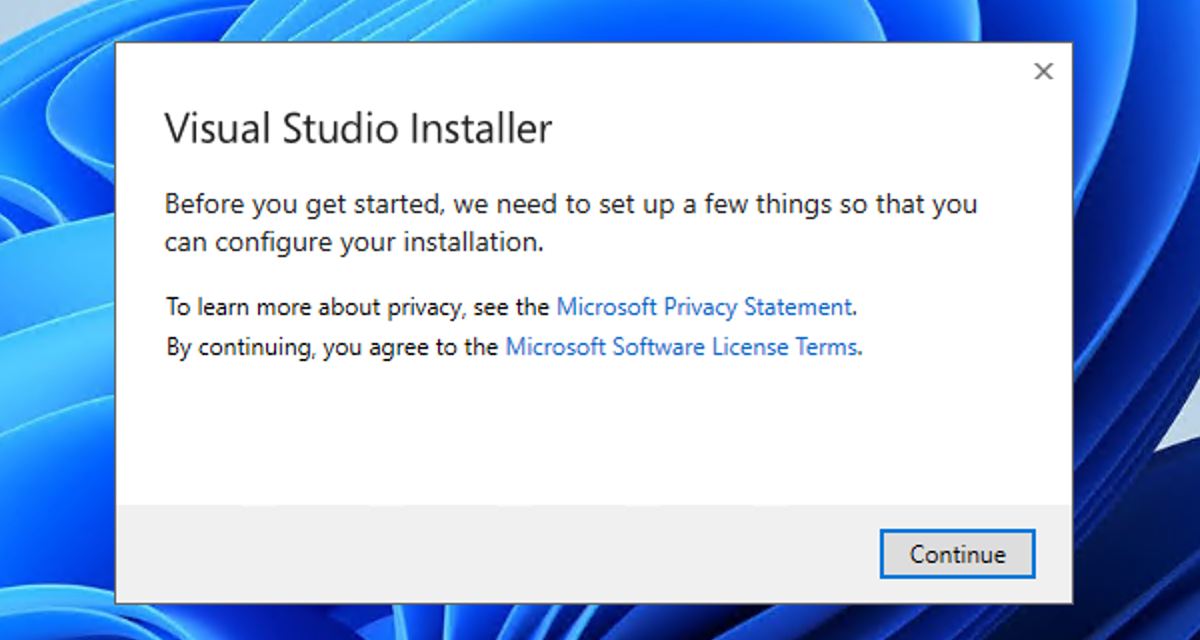
It’ll then show the first dialog, where you can click the Privacy Statement and Software License Terms. You can read them if you want, but I don’t. Just click Continue to agree to the terms.
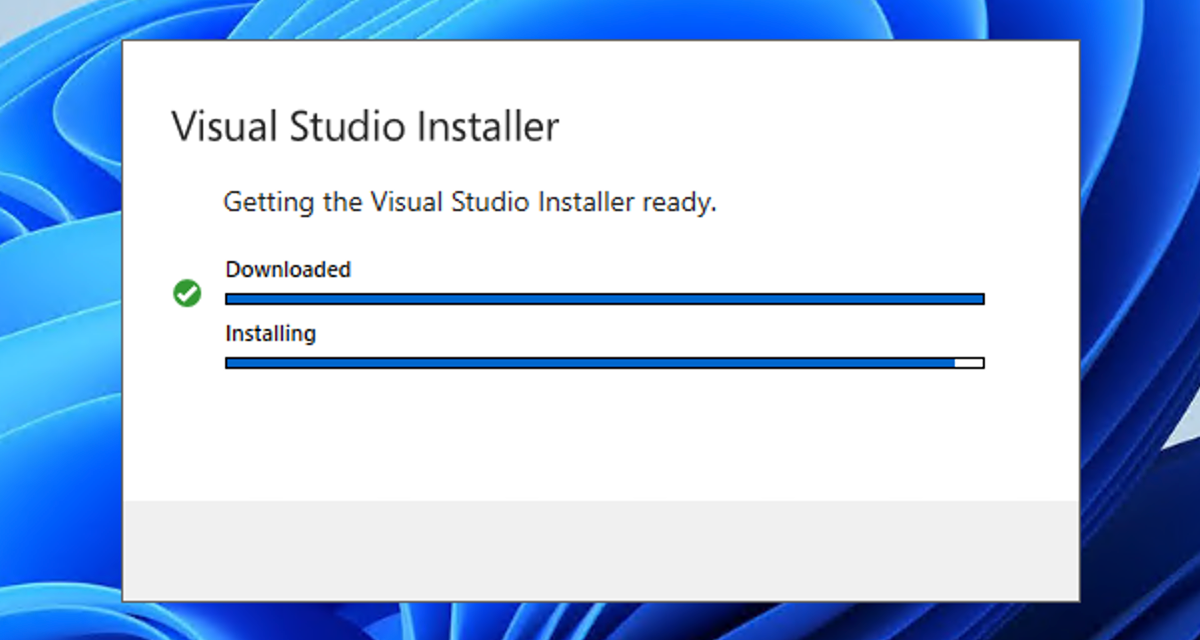
The installer will then download additional files in the background. It’s usually quick, but it may be slow sometimes.
Then you’ll be asked to select workloads. In my case, since I only need WPF and ASP.NET, I select these workloads:
- .NET Desktop Development
- ASP.NET and web development
These two cover most of my classic .NET Framework use cases. You can, of course, select other workloads.
These are all available workloads to install:
Windows (3)
.NET desktop development
Build WPF, Windows Forms, and console applications using C#, Visual Basic, and F#.
Desktop development with C++
Build Windows desktop applications using the Microsoft C ++ toolset, ATL, or MFC.
Universal Windows Platform development
Create applications for the Universal Windows Platform with C#, VB, JavaScript, or optionally C++.
Web & Cloud (7)
ASP.NET and web development
Build web applications using ASP.NET, ASP.NET Core, HTML/JavaScript, and Containers including Docker support.
Azure development
Azure SKs, tools, and projects for developing cloud apps, creating resources, and building Containers including Docker support.
Python development
Editing, debugging, interactive development and source control for Python.
Node.js development
Build scalable network applications using Node.js, an asynchronous event-driven JavaScript runtime.
Data storage and processing
Connect, develop, and test data solutions with SQL Server, Azure Data Lake, or Hadoop.
Data science and analytical applications
Languages and tooling for creating data science applications, including Python, R and F#.
Office/SharePoint development
Create Office and SharePoint add-ins, SharePoint solutions, and VSTO add-ins using C#, VB, and JavaScript.
Mobile & Gaming (5)
Mobile development with .NET (out of support)
Build cross-platform applications for iOS, Android or Windows using Xamarin. This version is no longer supported.
Game development with Unity
Create 2D and 3D games with Unity, a powerful cross-platform development environment.
Mobile development with JavaScript
Build Android, iOS and UWP apps using Tools for Apache Cordova.
Mobile development with C++
Build cross-platform applications for iOS, Android or Windows using C++.
Game development with C++
Use the full power of C++ to build professional games powered by Direct, Unreal, or Cocos2d.
Other Toolsets (3)
Visual Studio extension development
Create add-ons and extensions for Visual Studio, including new commands, code analyzers and tool windows.
Linux development with C++
Create and debug applications running in a Linux environment.
.NET Core cross-platform development (out of support)
Build cross-platform applications using .NET Core, ASP.NET Core, HTML/JavaScript, and Containers including Docker support.
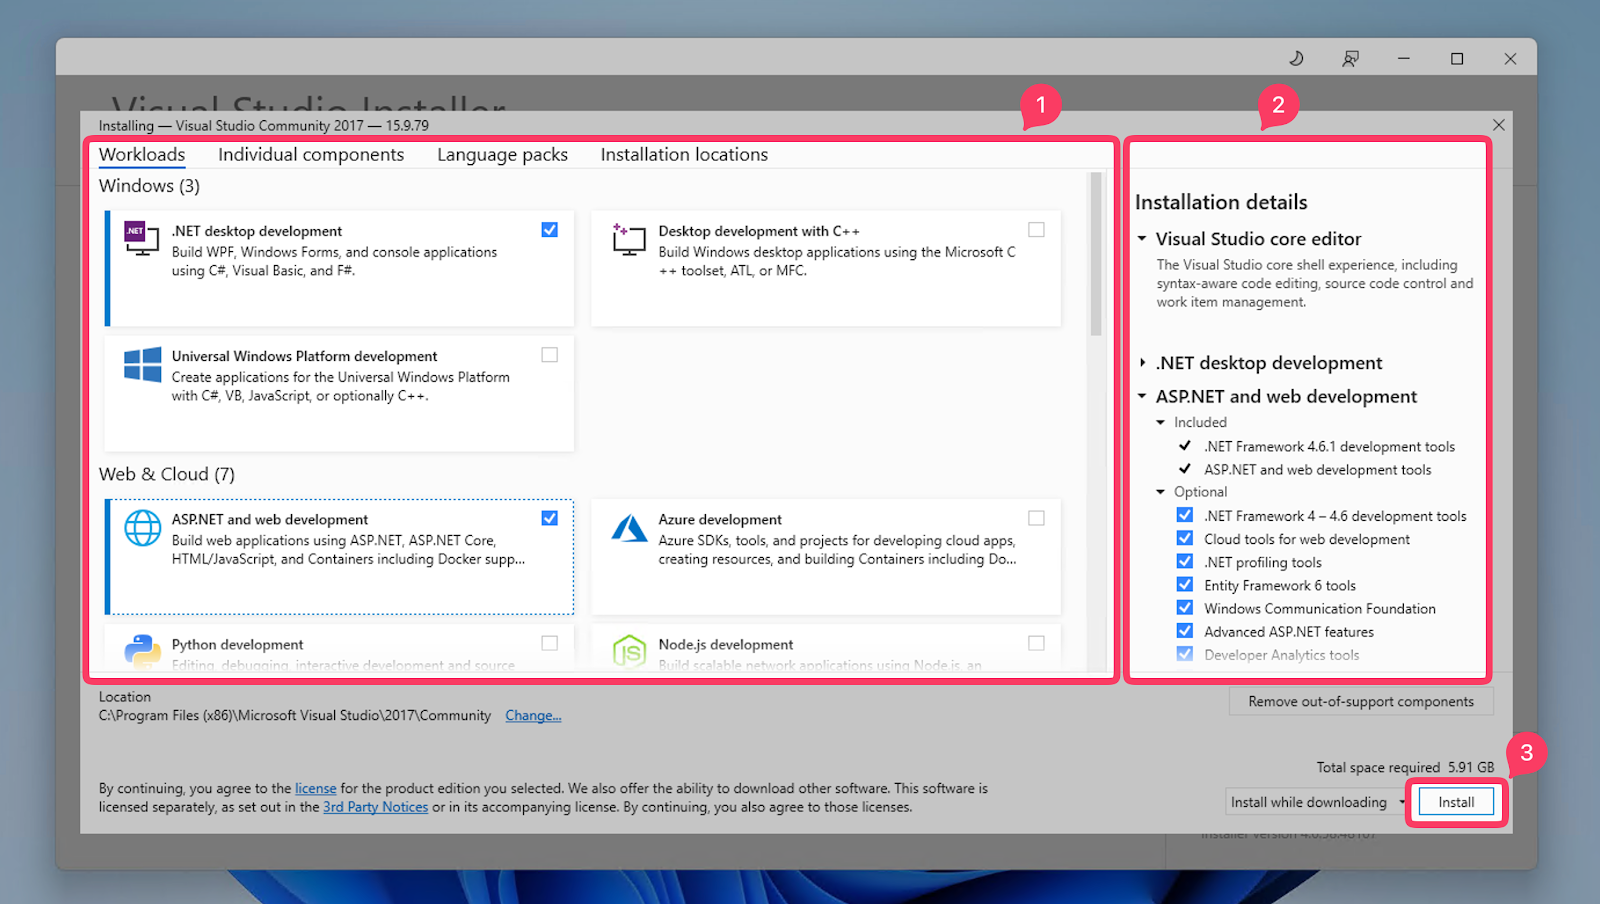
Once you’ve finished selecting the workloads, click Install, and now we wait. This part can take a while depending on your internet speed and machine specs. You can get some coffee or cook some ramen.
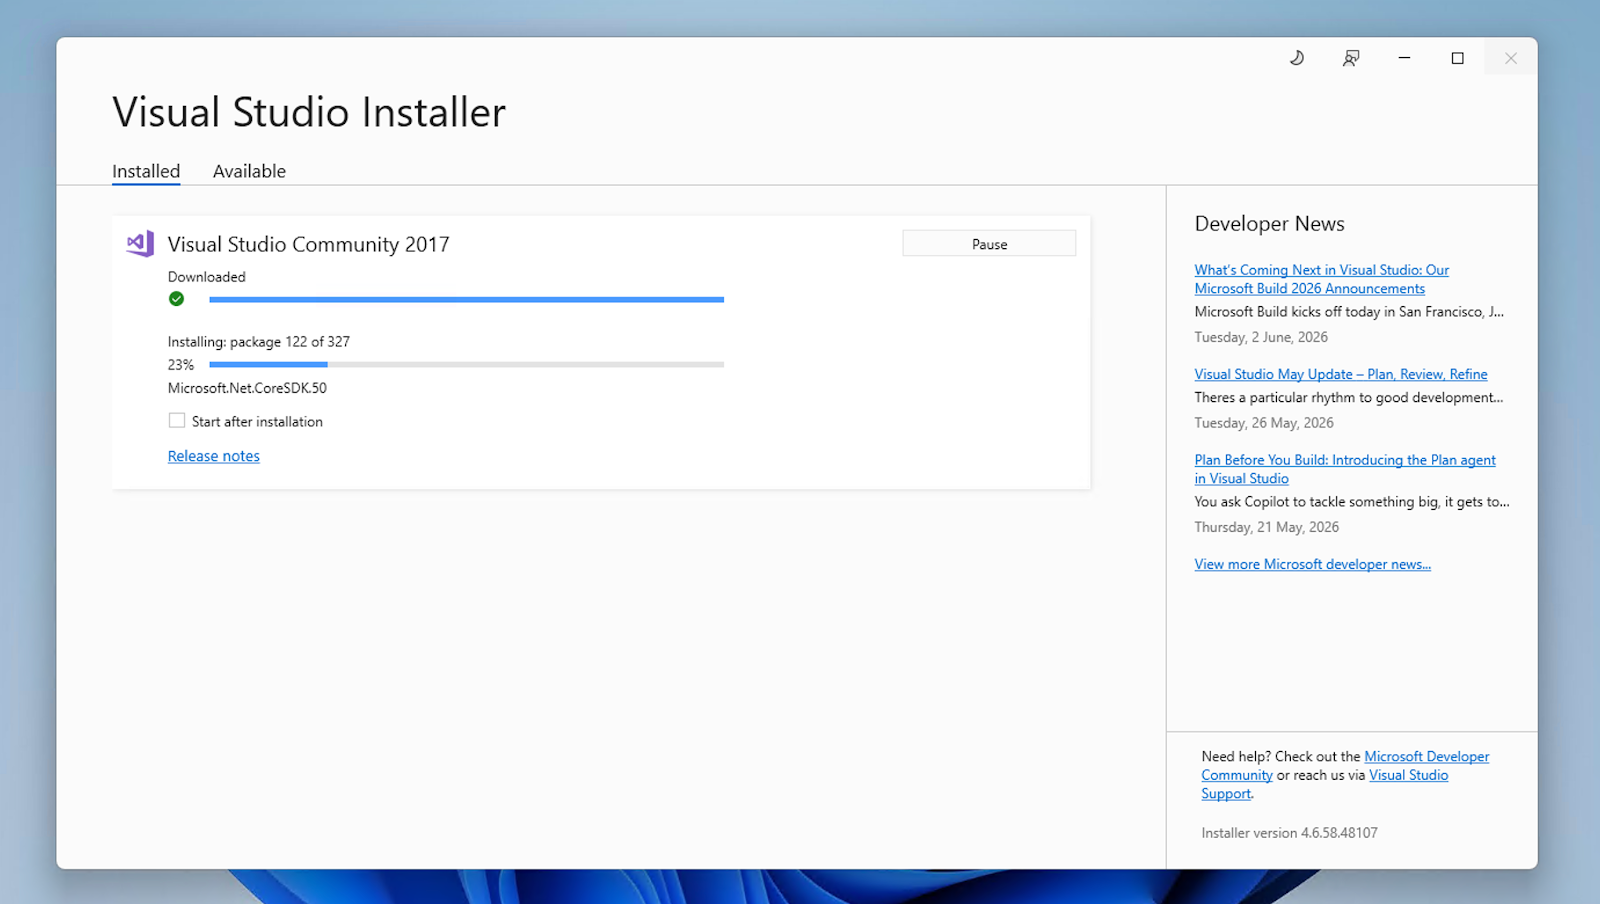
Step 3: Launch Visual Studio 2017
Once installation is complete, we can start using the Visual Studio 2017 IDE. Just click the Launch button.
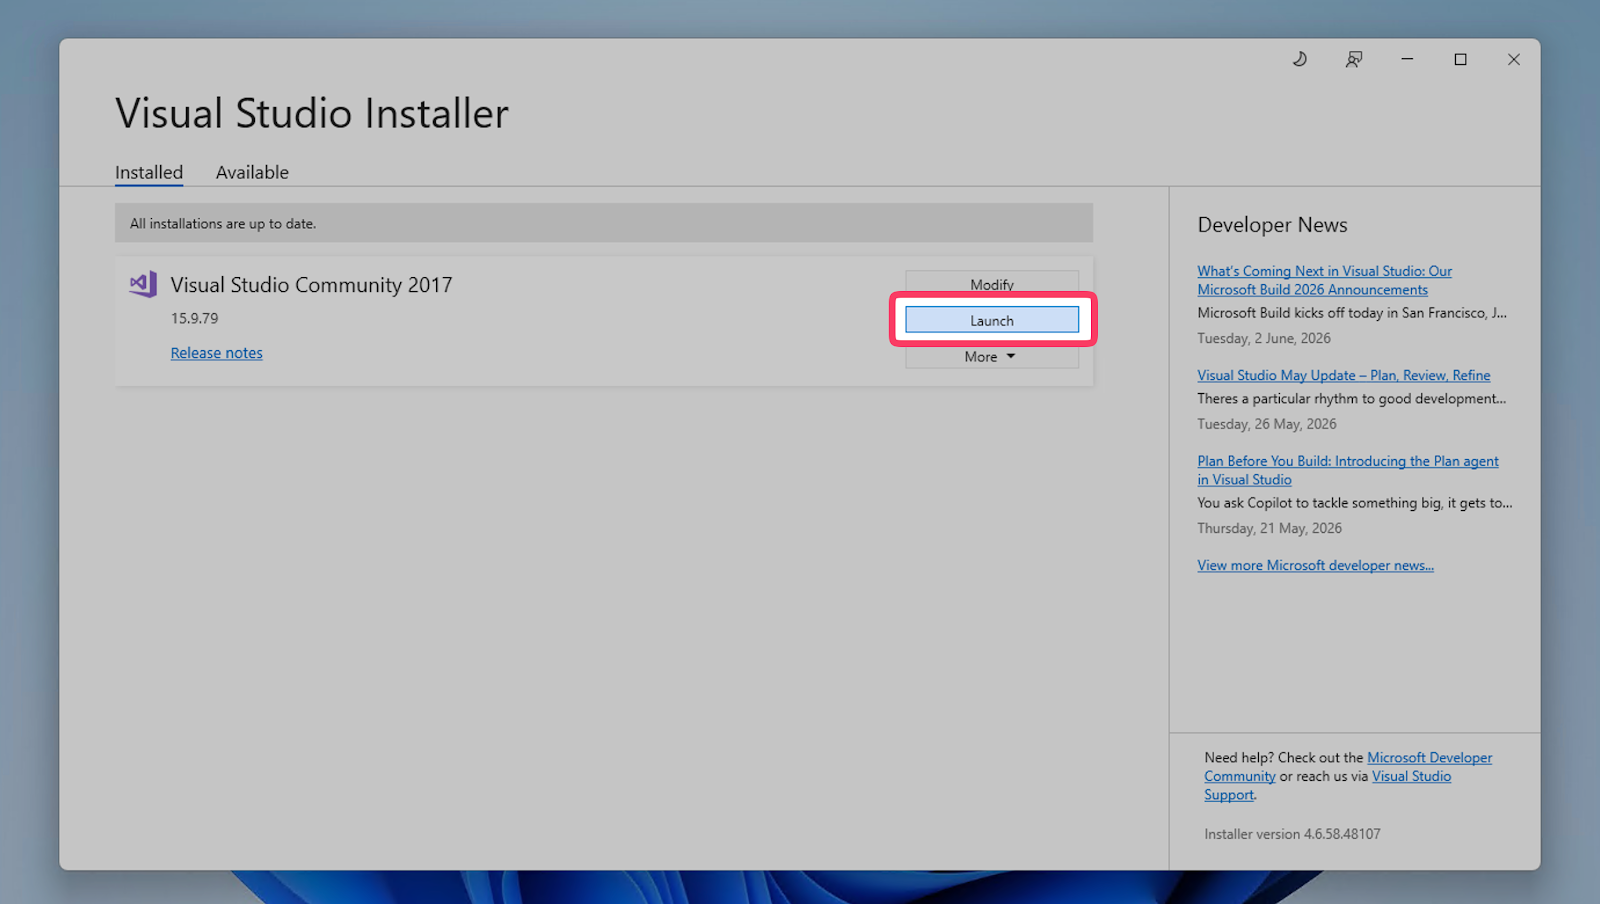
Now here’s where things can get interesting. Normally, it will open the IDE directly. However, if you install it in 2026 like I did on Windows 11, you may run into an issue.
If You See: “Could Not Start Visual Studio due to an error”
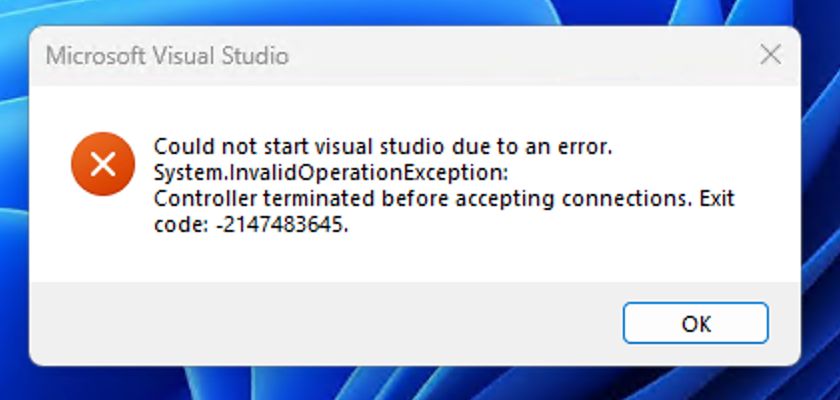
As I mentioned earlier, if you install it on a Windows 11 PC, sometimes after clicking Launch, you’ll get an error like:
Could not start Visual Studio due to an error. System.InvalidOperationException: Controller terminated before accepting connections. Exit code: -2147483645.
The first time this happened to me, I thought the installation was corrupted.
It turns out that, in many cases, the problem is related to Node.js and the NODE_OPTIONS environment variable.
If you have Node.js installed (which most developers do), this can interfere with Visual Studio 2017.
Read the next section to resolve the issue.
Temporary Fix: Rename NODE_OPTIONS
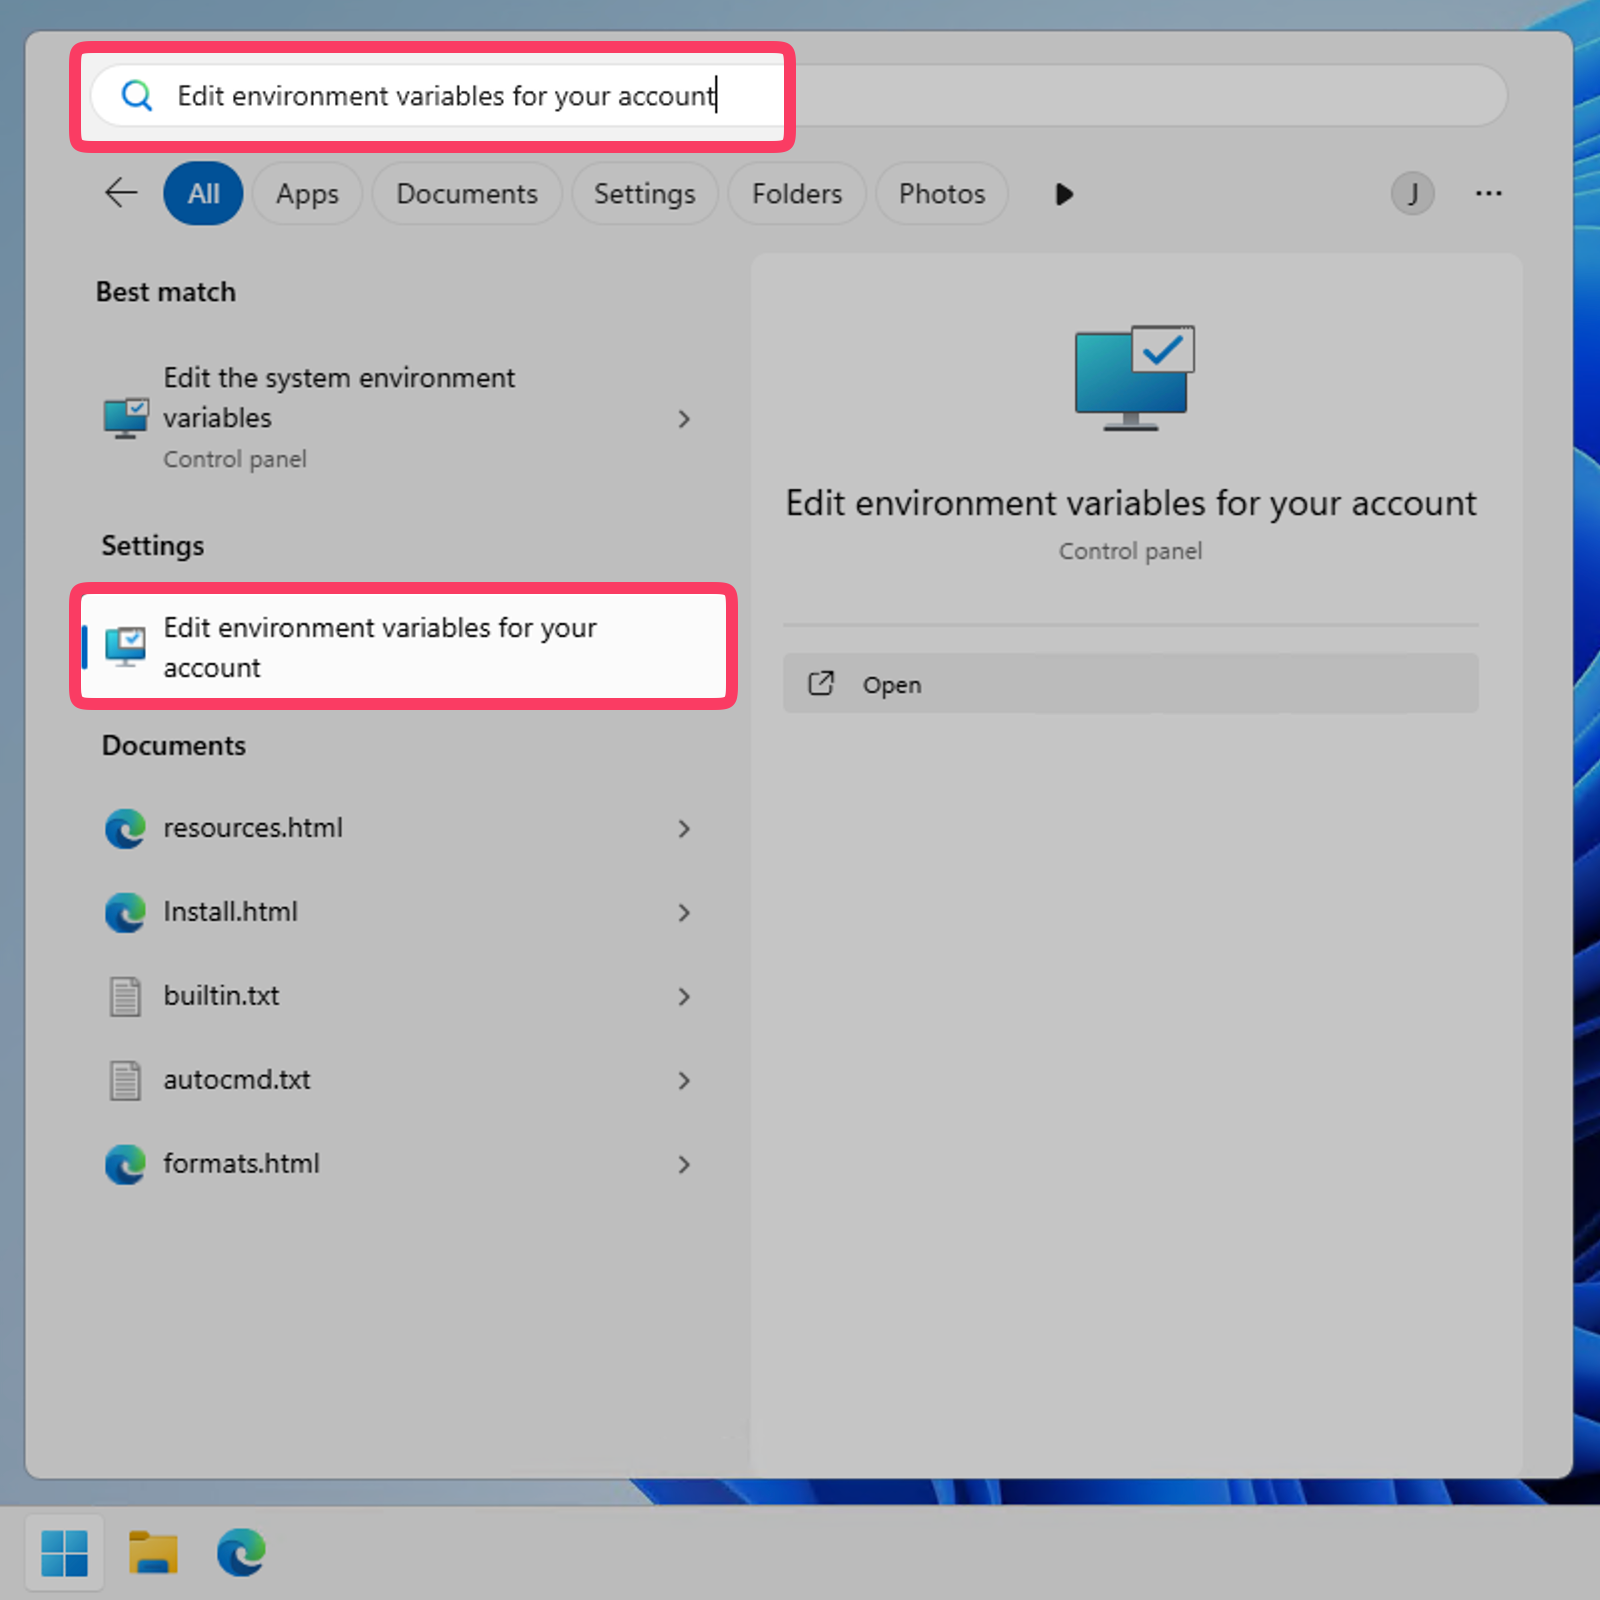
Open the Start Menu
Type: Environment Variables
Do one of the following:
- Click Edit environment variables for your account, or
- Click Edit the system environment variables, then click the Environment Variables… button
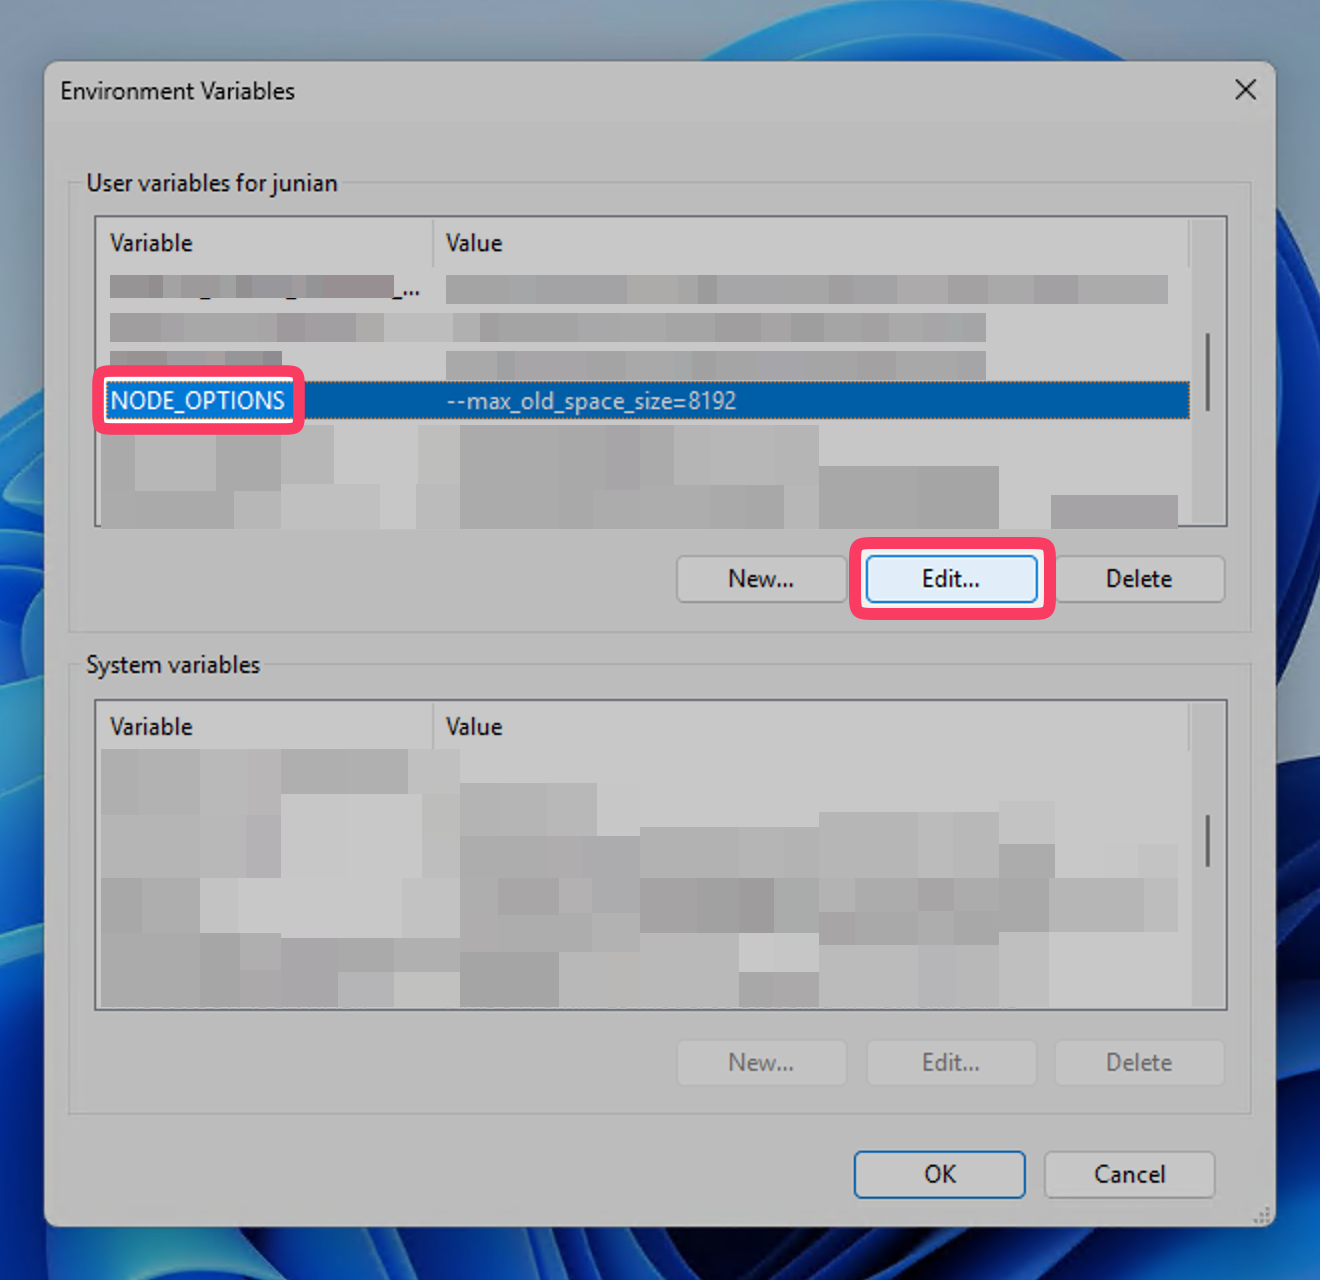
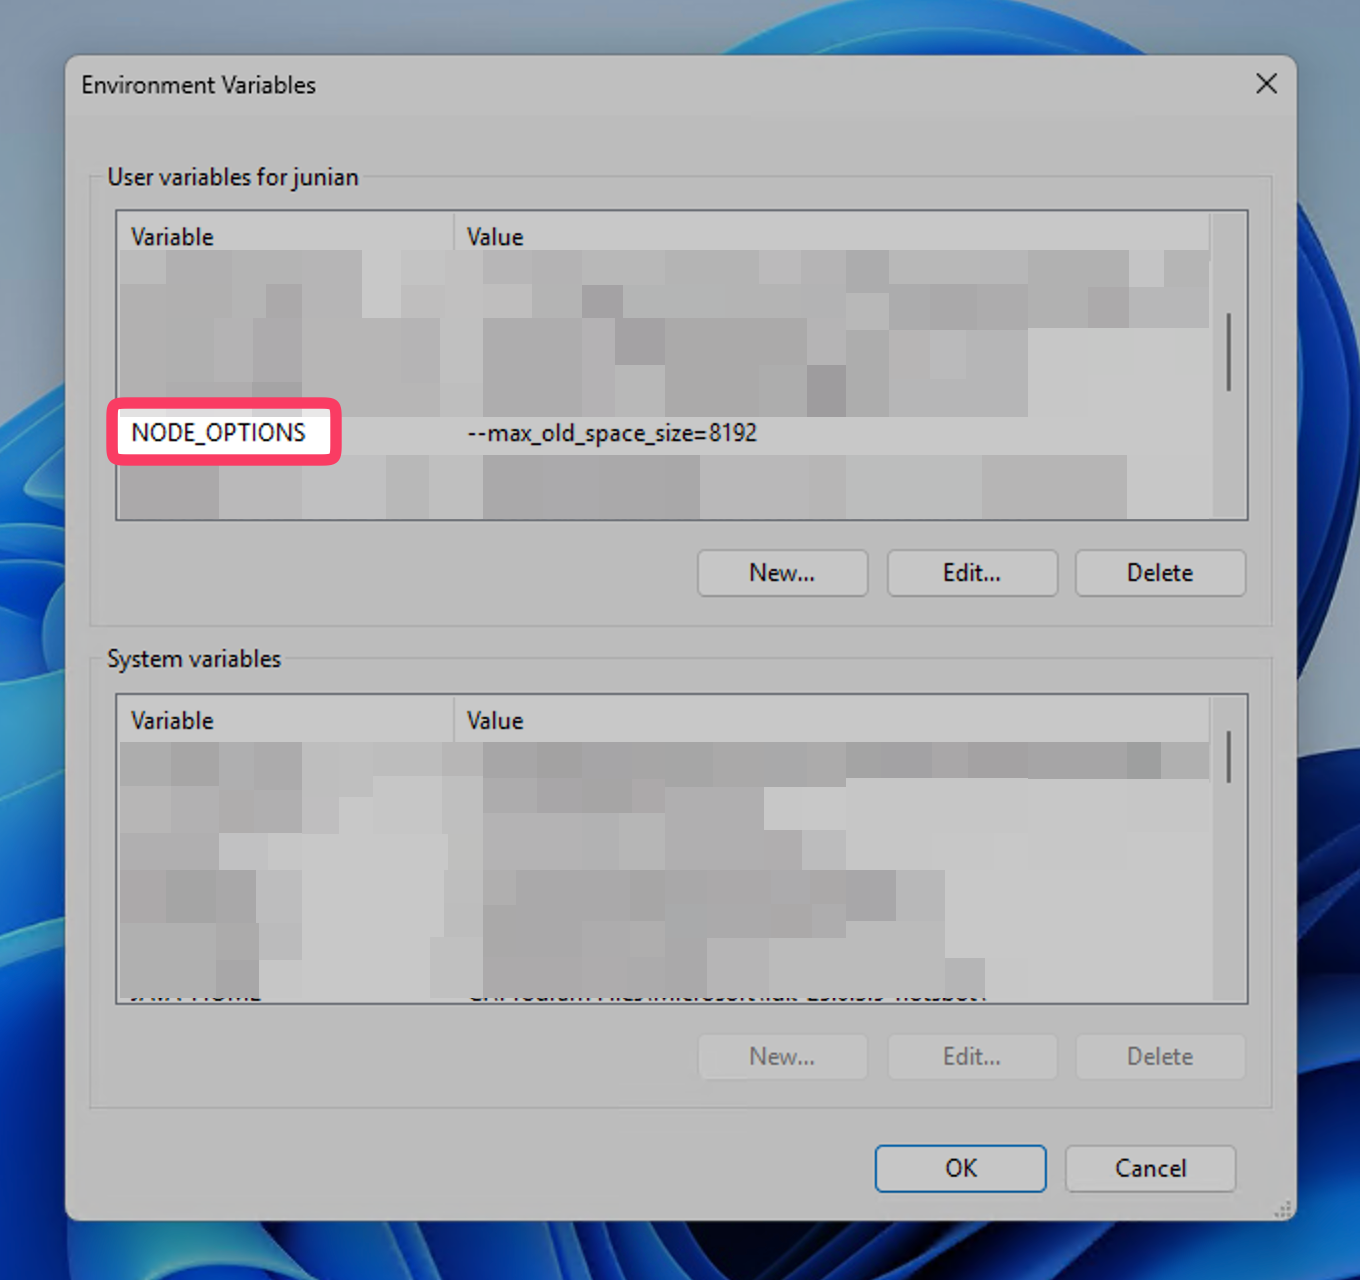
Edit environment variables for your account Under User Variables (or possibly System Variables too), find
NODE_OPTIONSClick the Edit… button.
Edit NODE_OPTIONS environment variable Rename it temporarily to something other than
NODE_OPTIONS, such as:NODE_OPTIONS_(Just add an underscore at the end.)
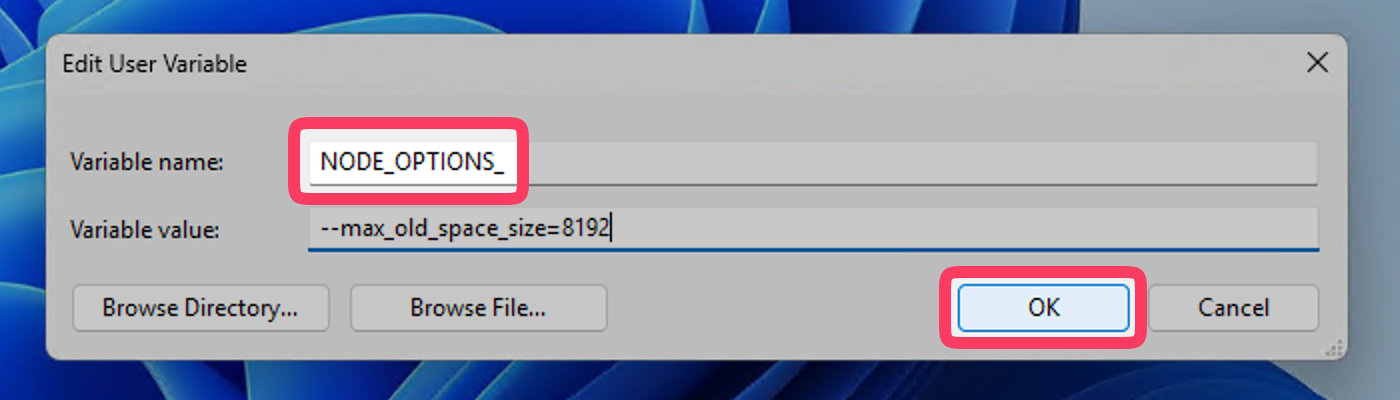
Rename NODE_OPTIONS Environment Variable Click OK after editing.
Click OK again.
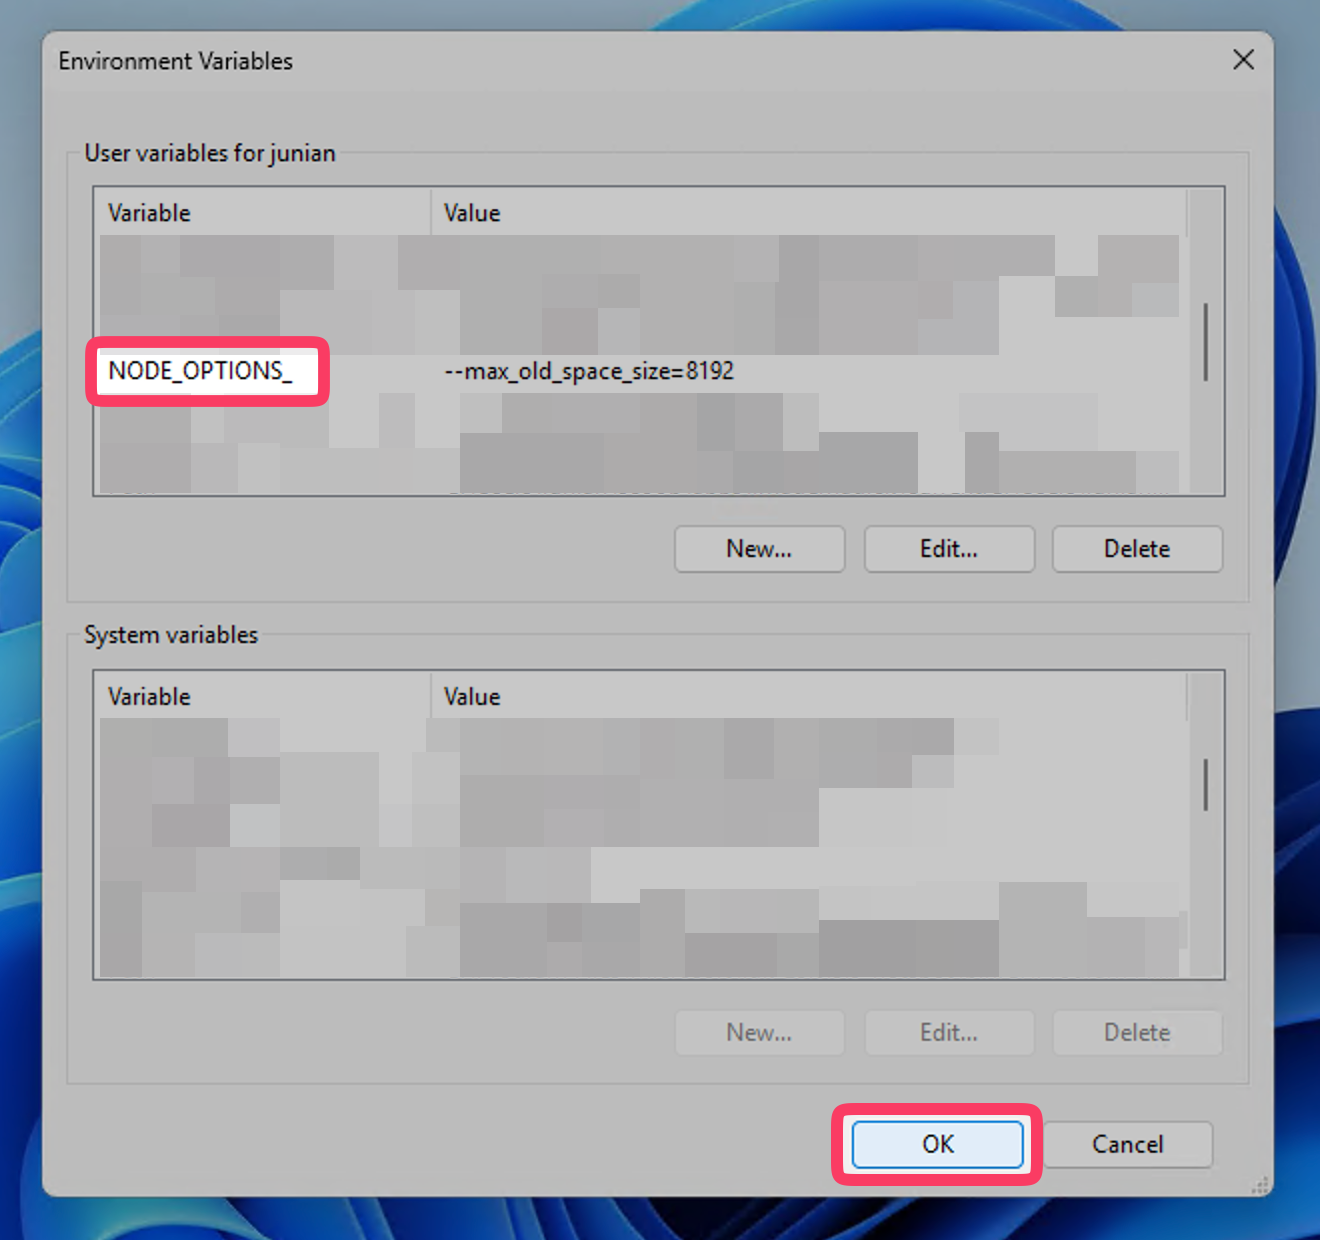
Save NODE_OPTIONS rename
Now try launching Visual Studio 2017 again. It should open without issues.
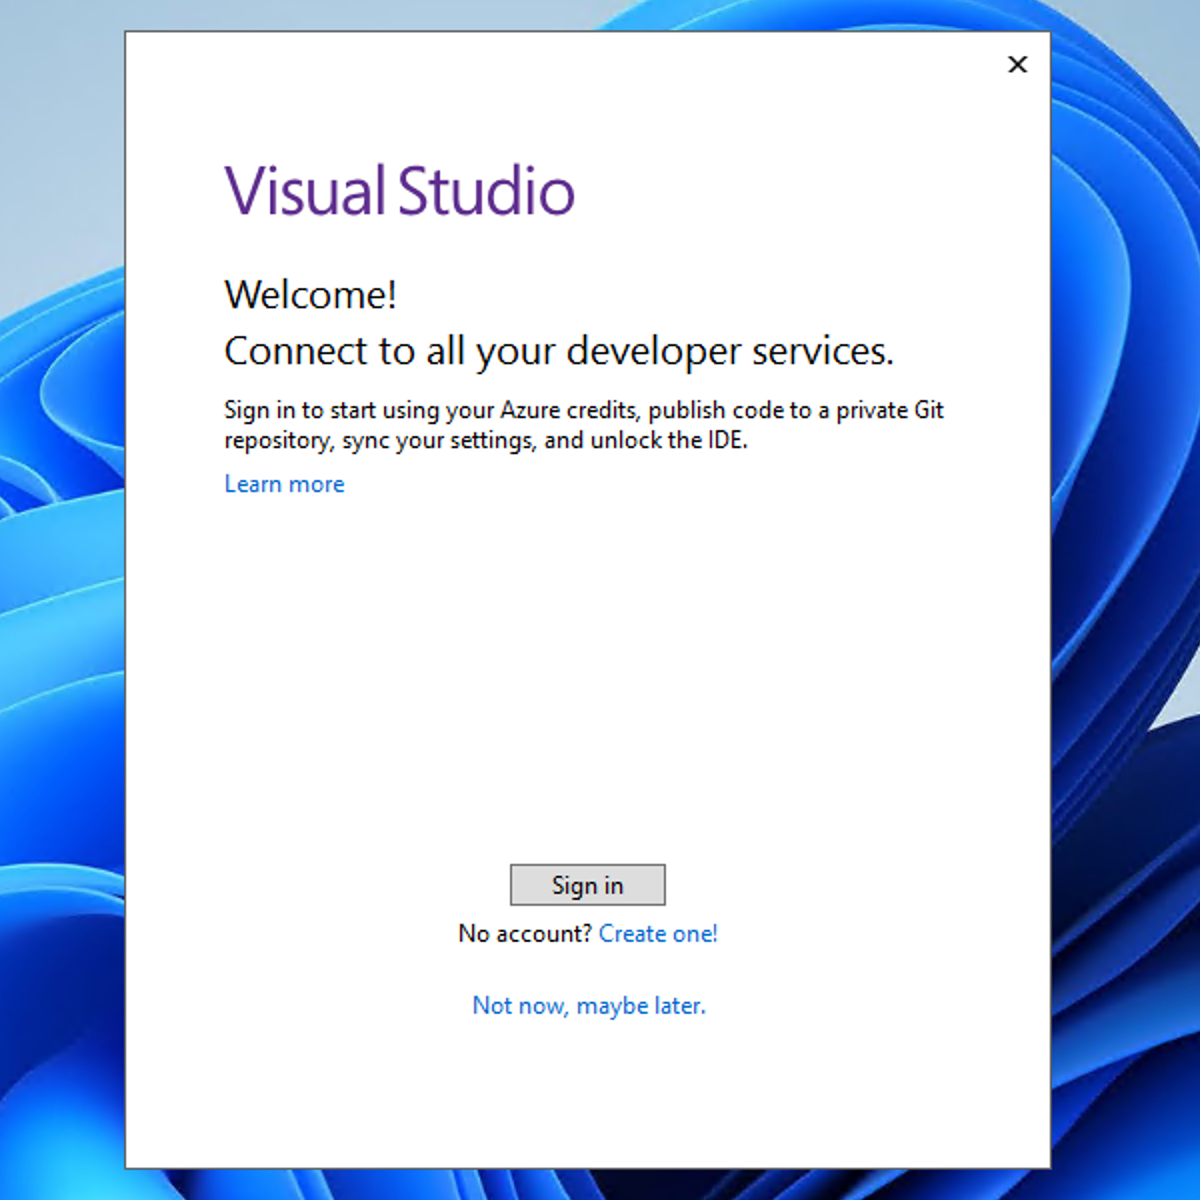
Sign In with a Microsoft Account
Once you’ve renamed NODE_OPTIONS, Visual Studio 2017 should launch correctly and ask you to sign in.
You can sign in or create a Microsoft account to activate the license.
Once you’re signed in, you’ll see the full IDE.
Restore NODE_OPTIONS After Launch
Once Visual Studio launches successfully and you’ve already signed in, you can rename the NODE_OPTIONS environment variable back.
Go back to Environment Variables
Edit the renamed variable
Remove the trailing underscore from
NODE_OPTIONS_so it becomes:NODE_OPTIONSClick OK.
Click OK again to save the changes.
Now close and reopen Visual Studio 2017 to confirm everything works properly. It should start normally this time.
Create a New Project with Visual Studio 2017
Now let’s make sure Visual Studio 2017 installed correctly by creating a new project for testing.
I normally create a new Windows Forms project for a quick test.
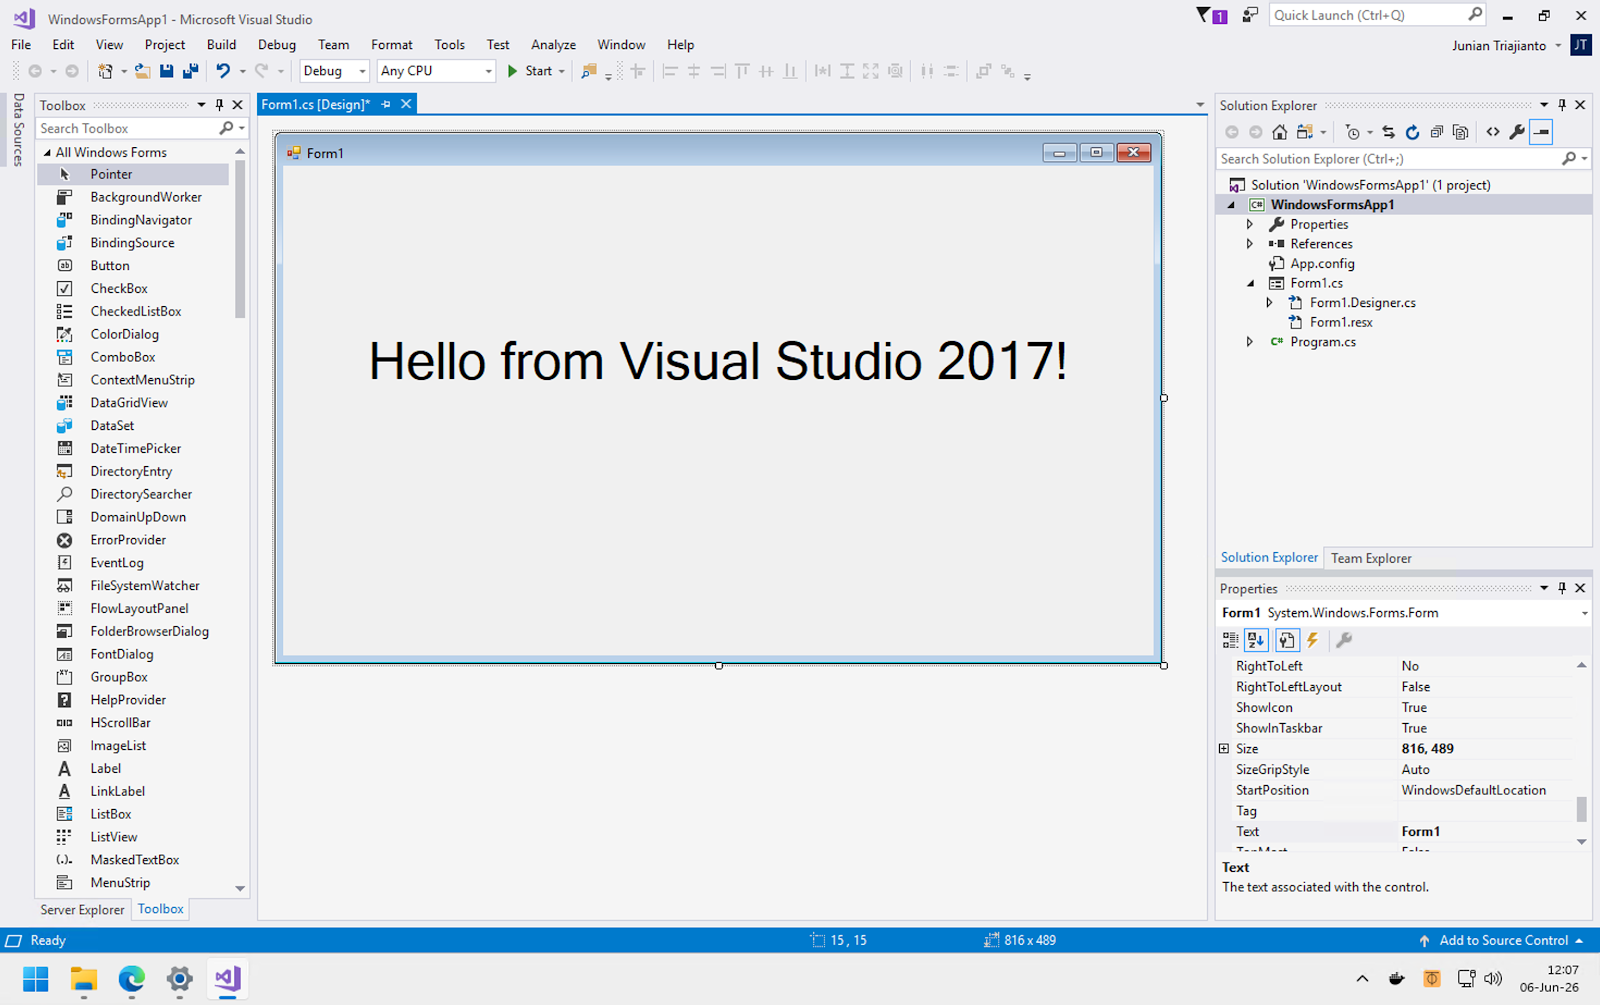
Try making some changes, then build and run it. If everything works without issues, Visual Studio 2017 is ready for real work.
Enjoy the coding session!
Uninstall Visual Studio 2017
If you no longer need Visual Studio 2017 in the future, you can uninstall it easily.
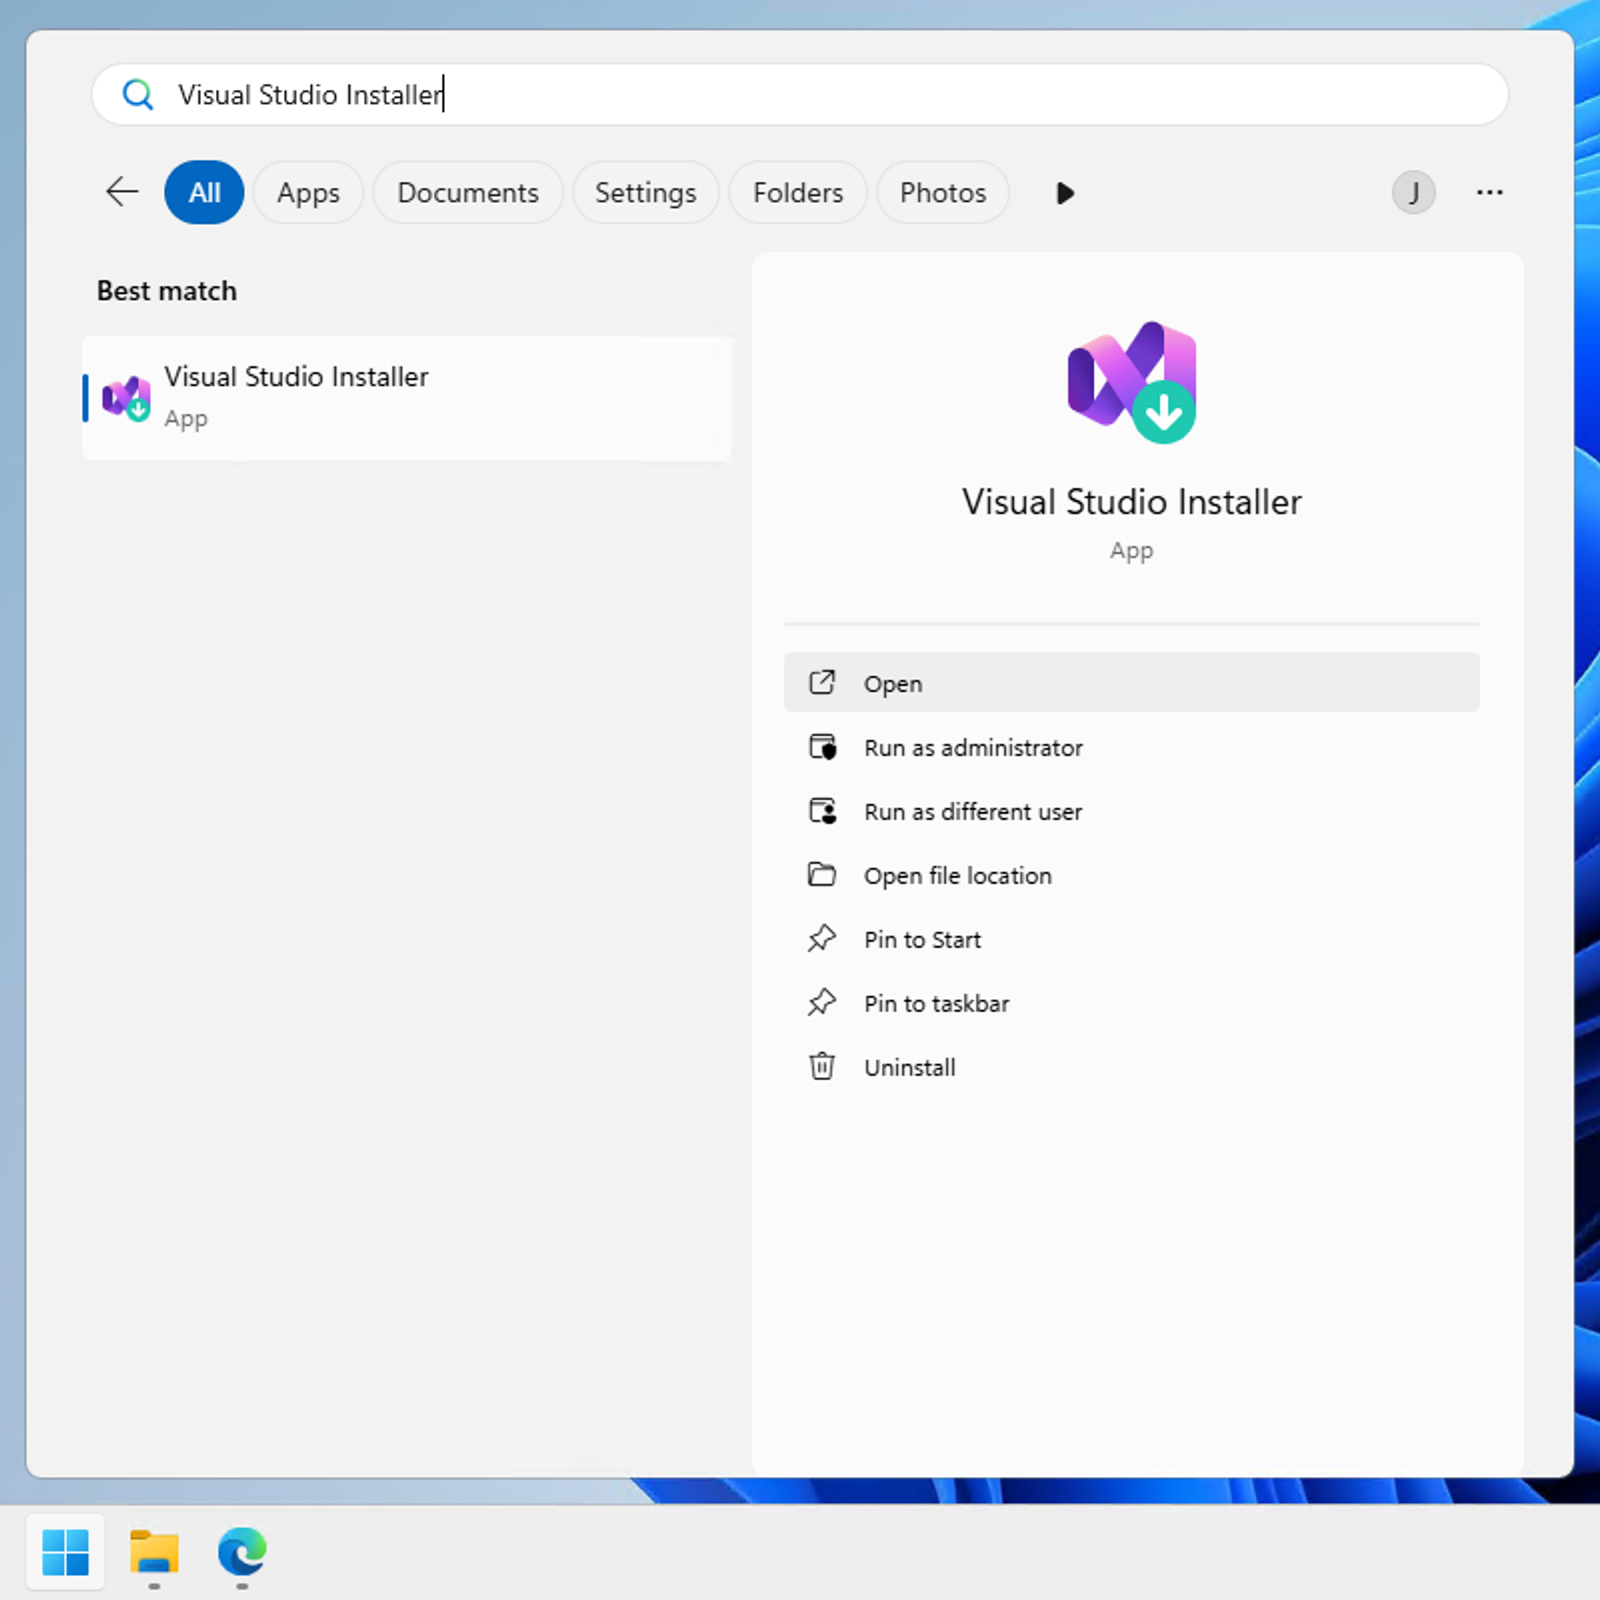
To uninstall it, first open Visual Studio Installer from the Start menu.
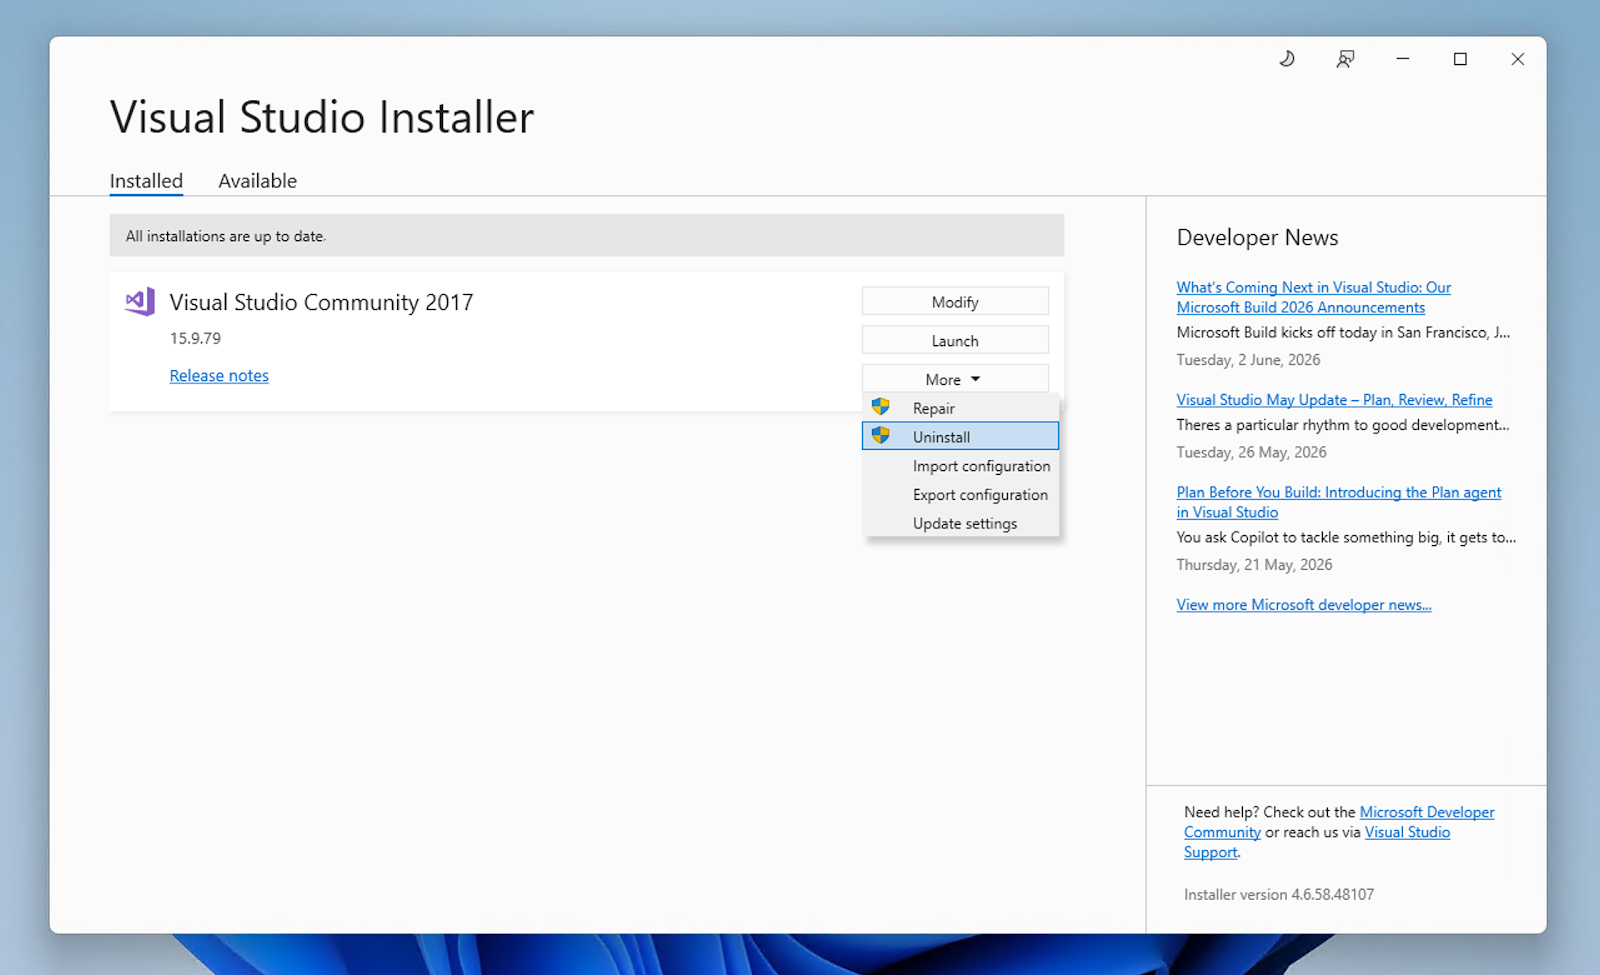
Go to the Visual Studio 2017 section. Click the More button, then click Uninstall.
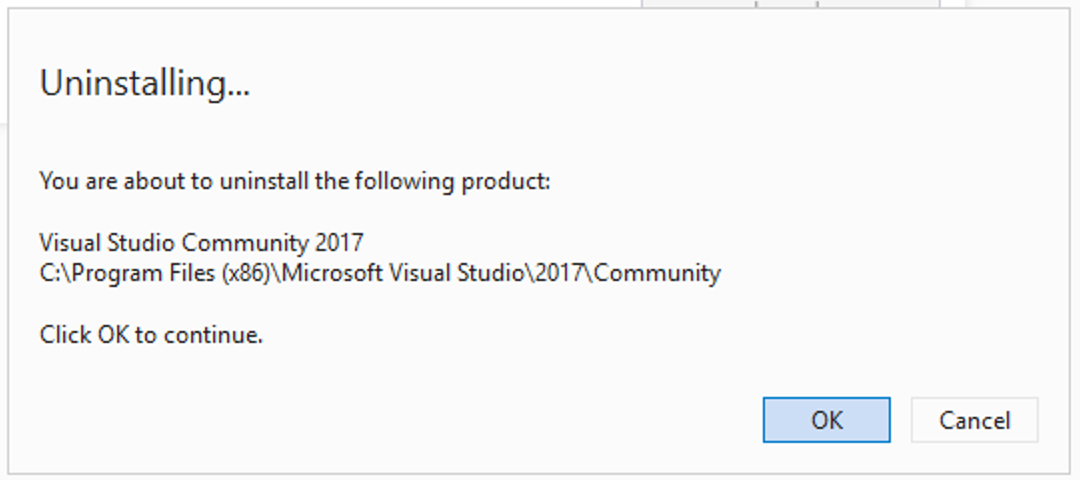
A final confirmation dialog will appear. If you’re sure you want to uninstall it, click OK. If you change your mind, click Cancel and nothing will be removed.
Once you’ve confirmed, the installer will start removing Visual Studio 2017 from your Windows PC. Just follow along, sit back, and get another cup of coffee.
Final Thoughts
Visual Studio 2017 might be old, but it’s still perfectly usable—especially for maintaining legacy applications.
If you run into the startup error, don’t panic.
In many cases, it’s just the NODE_OPTIONS environment variable conflicting with it.
A quick rename and restore usually solves the issue.
That’s it. Now you’re ready to build your apps like it’s 2017 again 😄
As usual, if you have any questions or a better method, leave a comment below. Thanks for reading, and see you next time 👋