
There was this old legacy Silverlight (remember it? Microsoft’s Flash?) project in production that I needed to run. It’s so old that I barely remember anything about it.
I tried to run it using the latest Visual Studio, and it obviously couldn’t build it. Migration is currently out of the question, so I needed to install the Visual Studio version originally used to build this project, which was Visual Studio 2013.
Since I needed a specific Visual Studio 2013 version to run this project, I’m going to share where to download it (using Microsoft’s official download link), how to install it, and how to fix some issues along the way. Read on!
- Download Visual Studio 2013
- Install Visual Studio 2013 Community (Step by Step)
- Fix Visual Studio 2013 Microsoft Sign-In Issue
- Create a New Project with Visual Studio 2013
- Uninstall Visual Studio 2013
Video
Not in the mood for reading? Watch the video instead.
![]()
Download Visual Studio 2013
The following installer files are for the last release of Visual Studio 2013, which is Visual Studio 2013 Update 5.
Select the edition that suits your license. You can use the Community edition for free, but make sure you’re working in an environment that complies with the license terms.
| Edition | Installer |
|---|---|
| Visual Studio Community 2013 Web Installer | vs_community.exe |
| Visual Studio Community 2013 ISO | vs2013.5_ce_enu.iso |
| Visual Studio Professional 2013 ISO | vs2013.5_pro_enu.iso |
| Visual Studio Premium 2013 ISO | vs2013.5_prem_enu.iso |
| Visual Studio Ultimate 2013 ISO | vs2013.5_ult_enu.iso |
| Visual Studio Team Foundation Server 2013 ISO | vs2013.5_tfs_enu.iso |
| Visual Studio 2013 Full ISO | vs2013.5.iso |
After downloading the edition you need, follow the next section to install Visual Studio 2013 on a Windows 11 PC.
Install Visual Studio 2013 Community (Step by Step)
After downloading the installer, which I assume is the ISO file, mount it using the File Explorer.
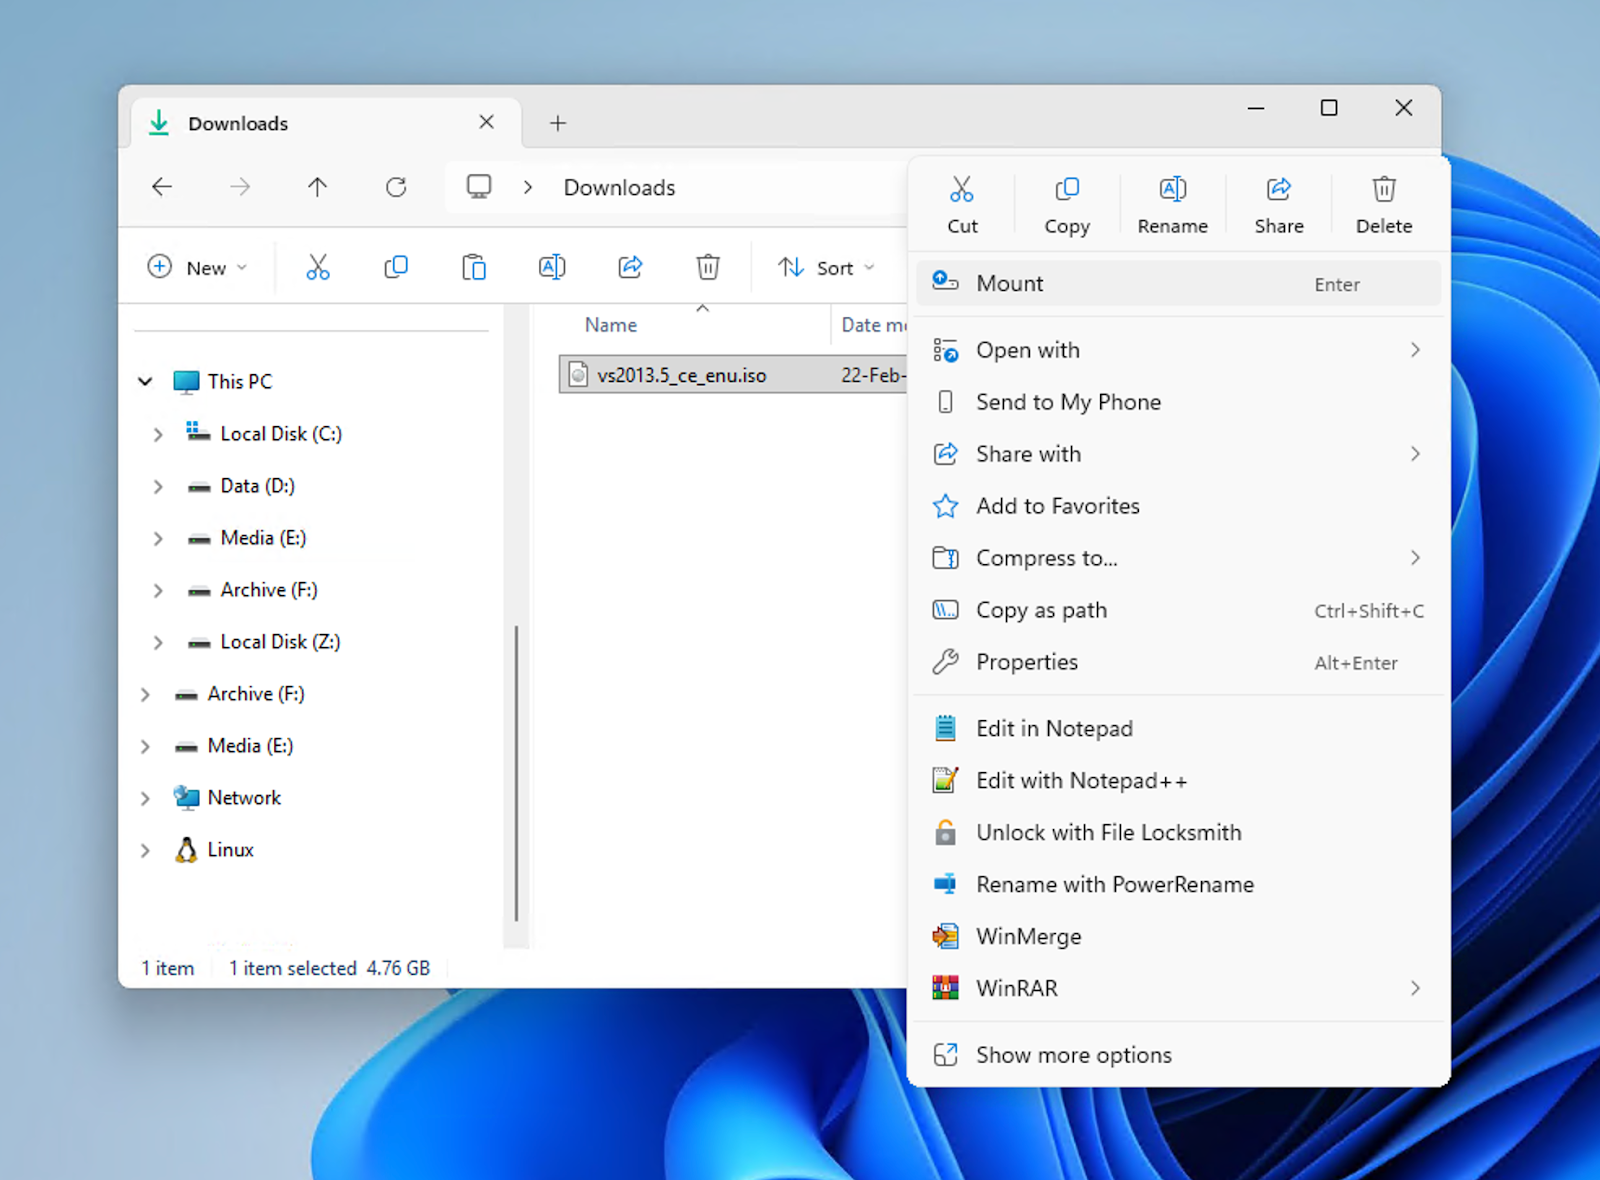
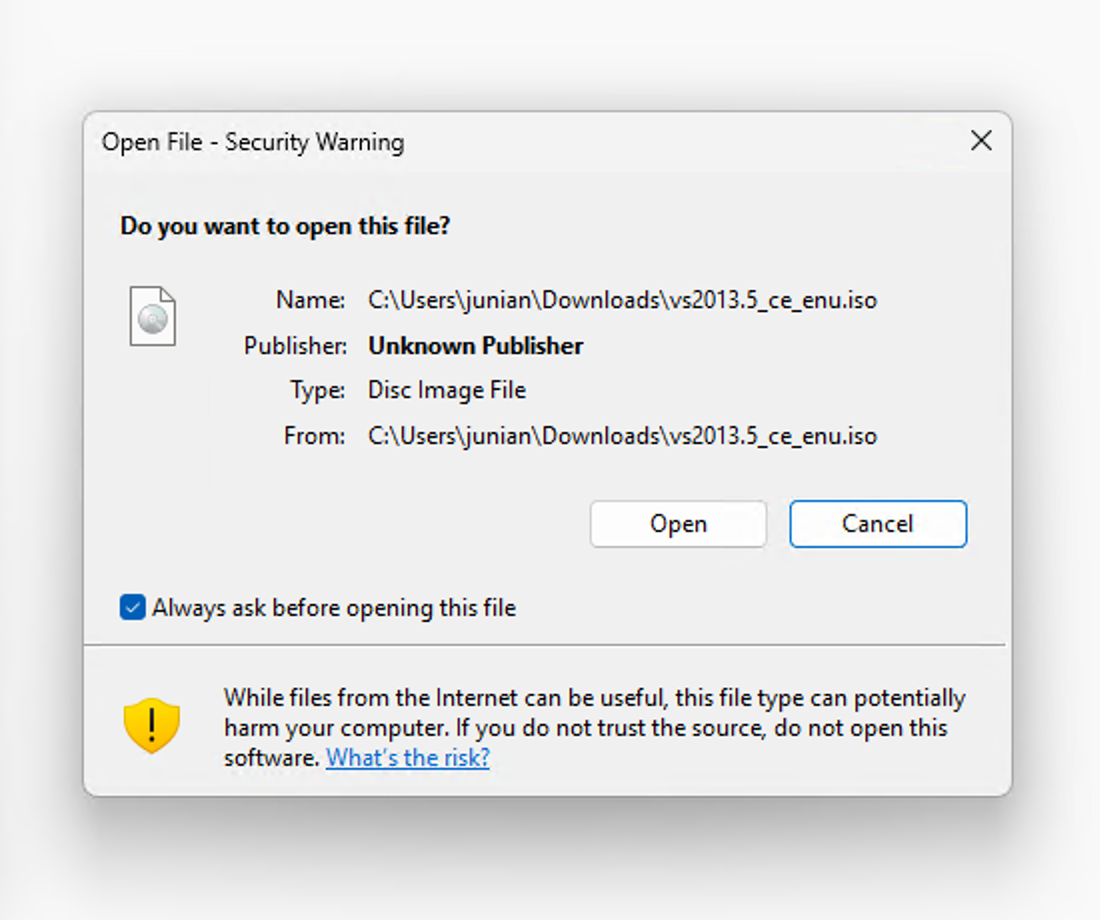
A security warning dialog may appear. Just click Open. This ISO file wasn’t signed correctly by Microsoft, which is why the warning appears. If you’re feeling paranoid, you can always scan it for viruses first.
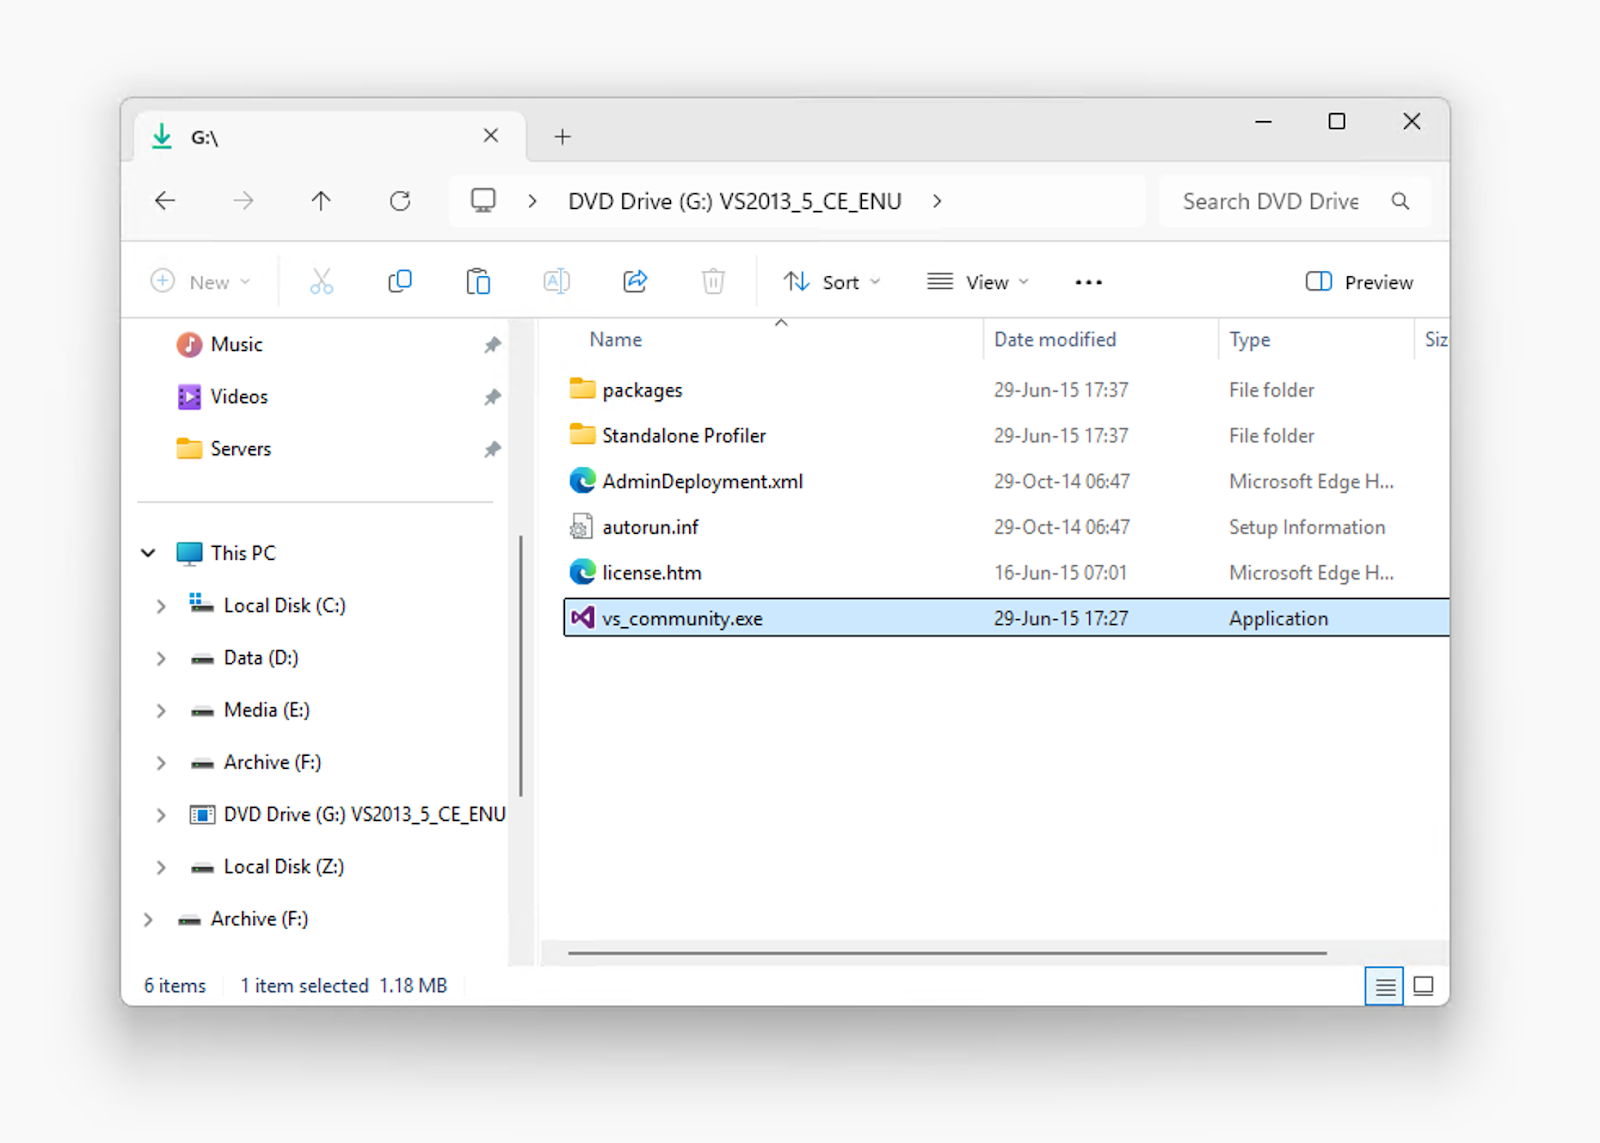
A new Explorer window will open.
For example, if you’re using Visual Studio 2013 Community, you’ll see a new DVD drive with the name VS2013_5_CE_ENU.
From there, run the installer file, such as vs_community.exe.
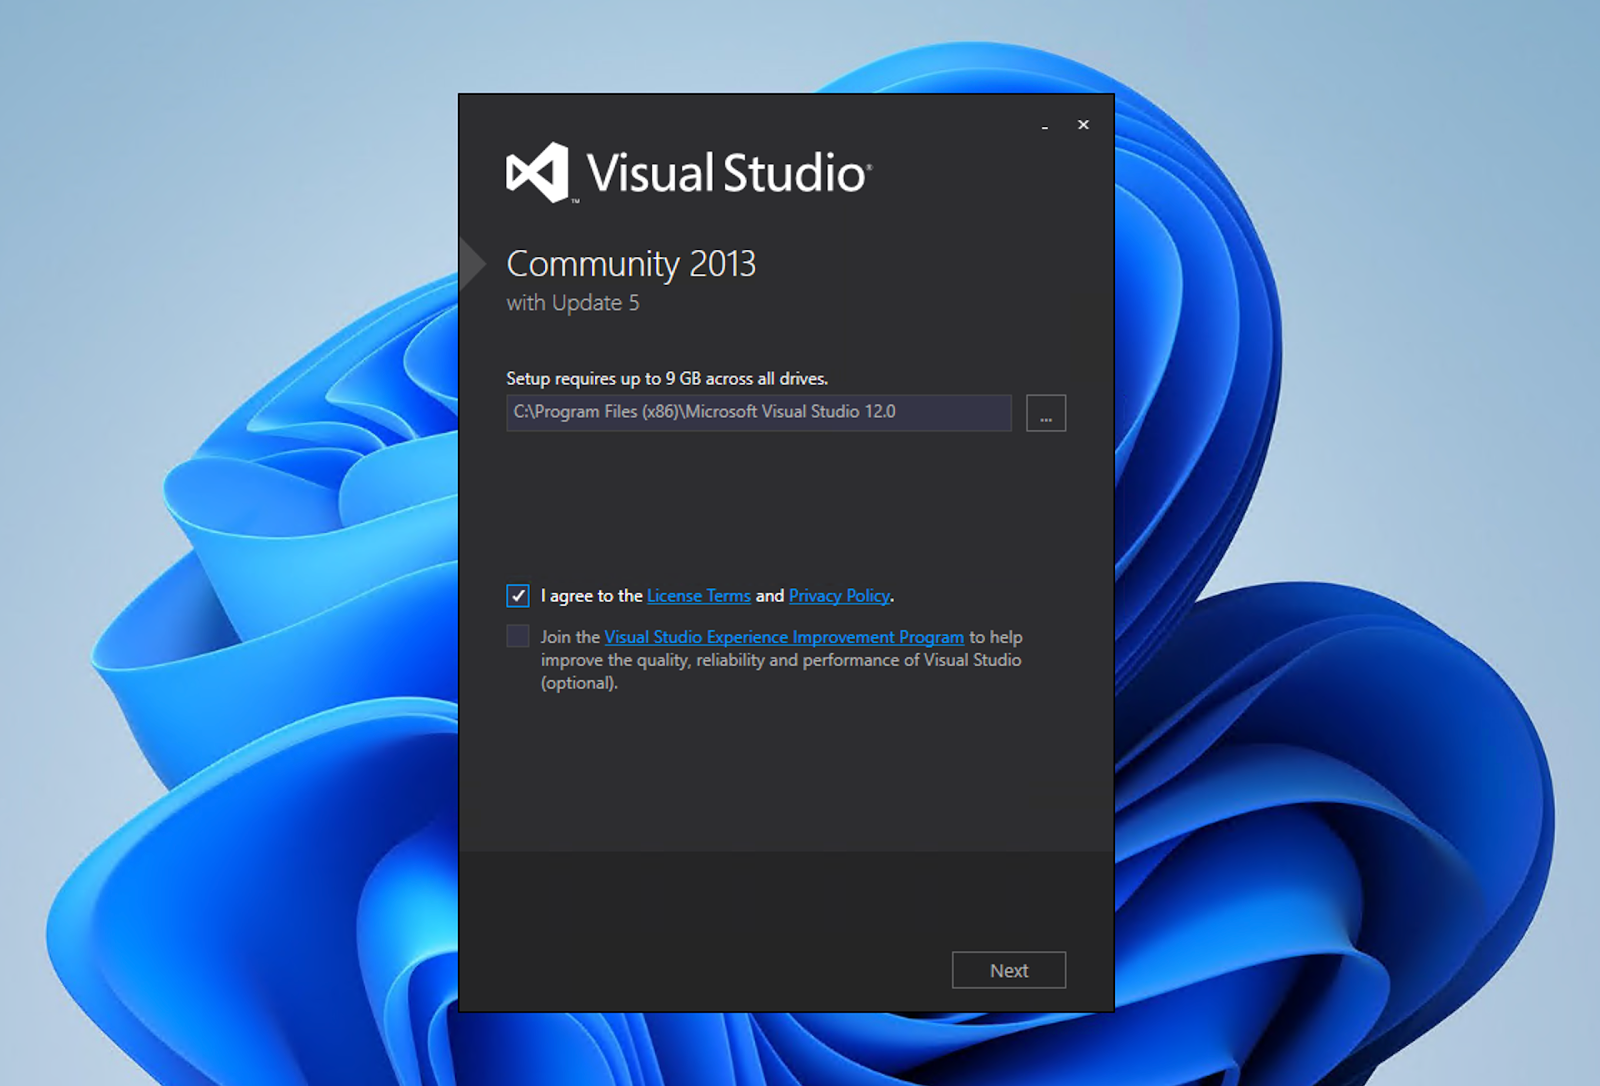
The first Visual Studio 2013 dialog will appear. Just check that you agree to the License Terms and Privacy Policy—you’re probably not going to read them anyway.
The next dialog will show a list of optional features available for installation. Select whatever features you need, or leave the default selection.
These are the available options:
- Blend for Visual Studio
- Microsoft Foundation Classes for C++
- Microsoft SQL Server Data Tools
- Microsoft Web Developer Tools
- Tools for Maintaining Store Apps for Windows 8
- Silverlight Development Kit
- Windows Phone 8.0 SDK
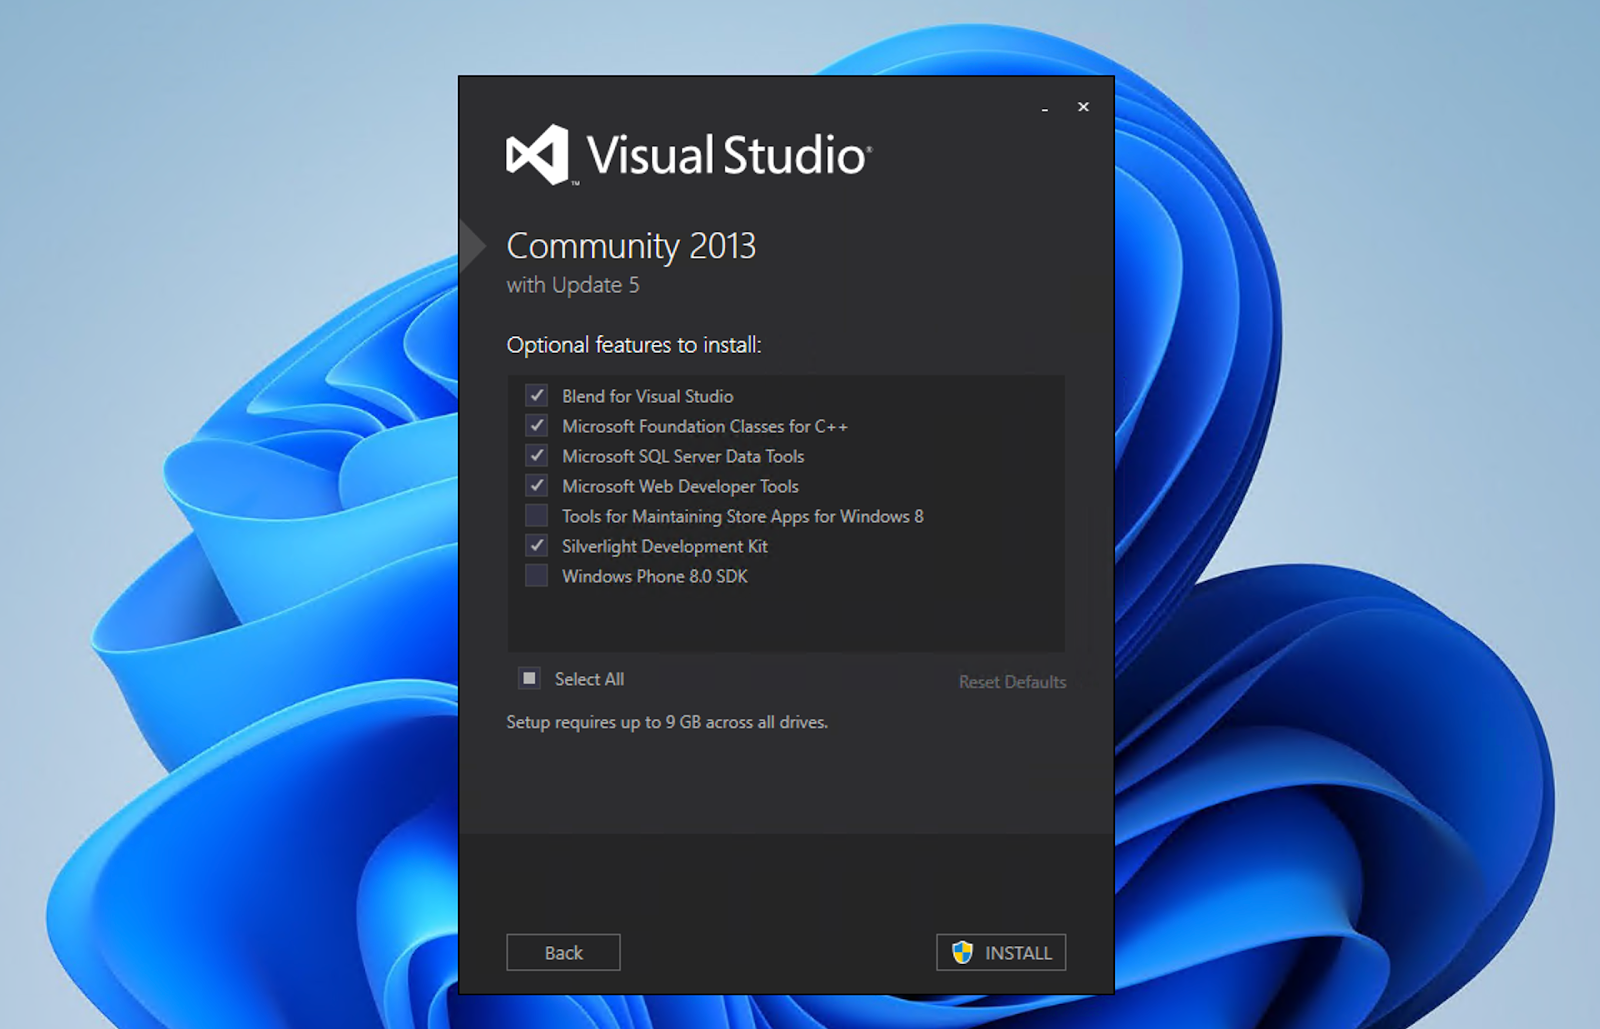
After that, click the INSTALL button.
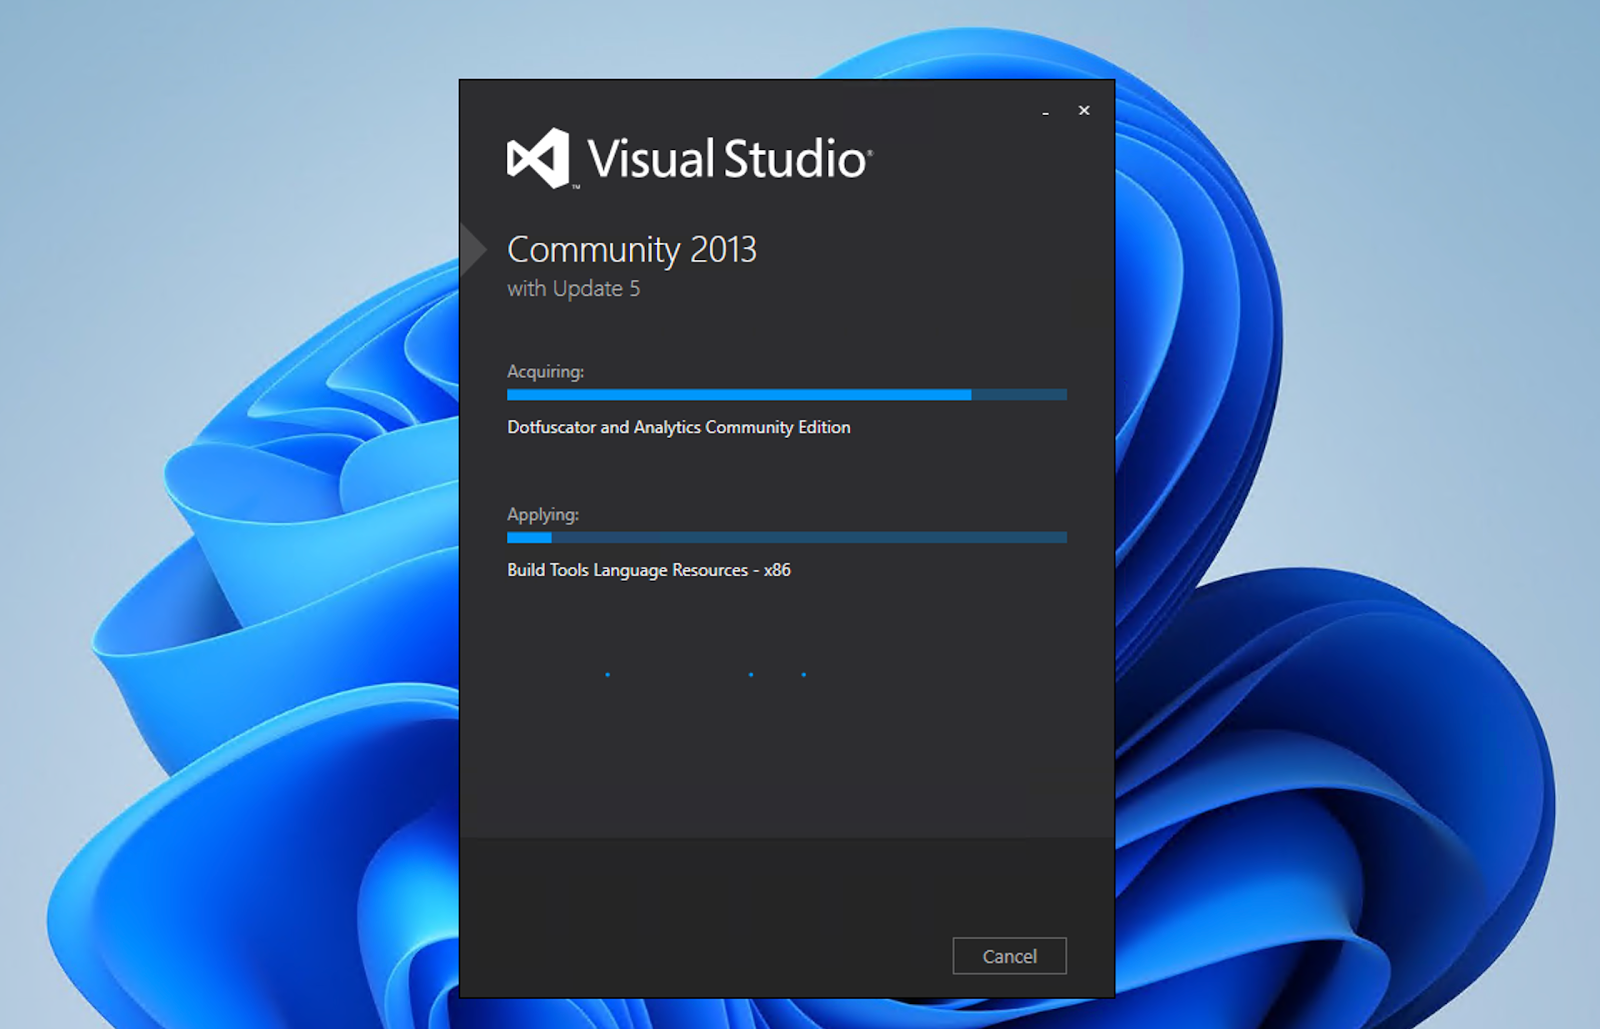
You may want to grab a coffee because it’s going to take a while, depending on how many features you choose to install.
Once the installation is finished, click the big blue LAUNCH button to start the Visual Studio 2013 IDE.
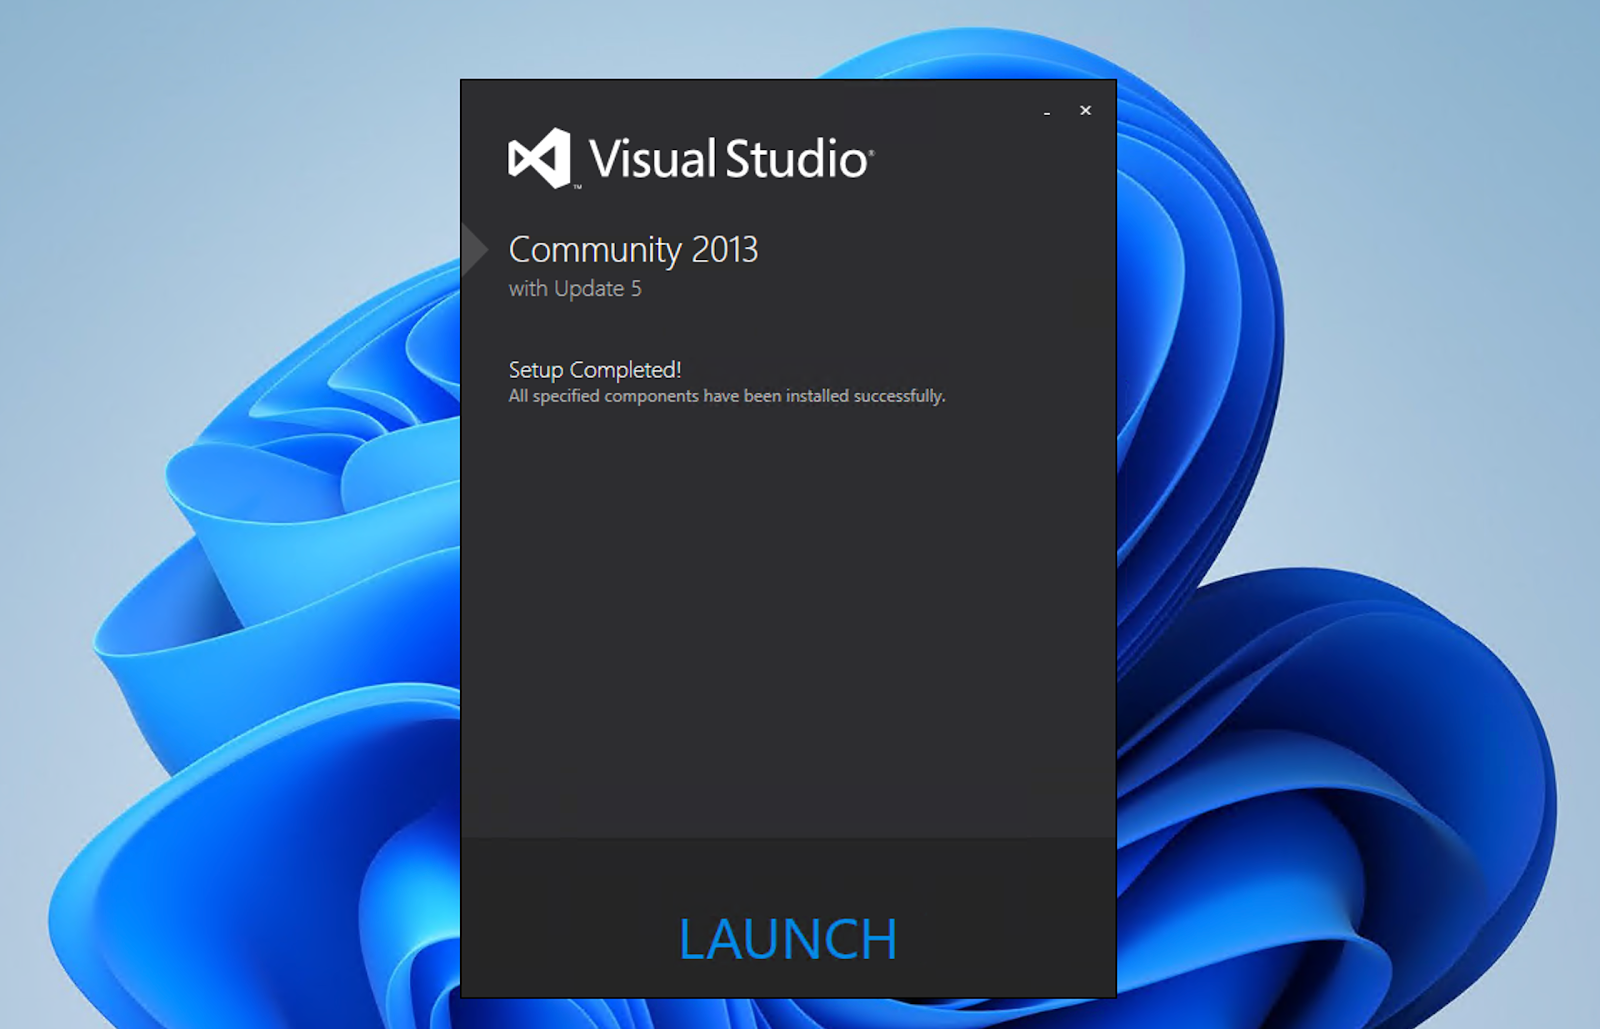
At this point, you’re almost done and ready to start using Visual Studio 2013.
Fix Visual Studio 2013 Microsoft Sign-In Issue
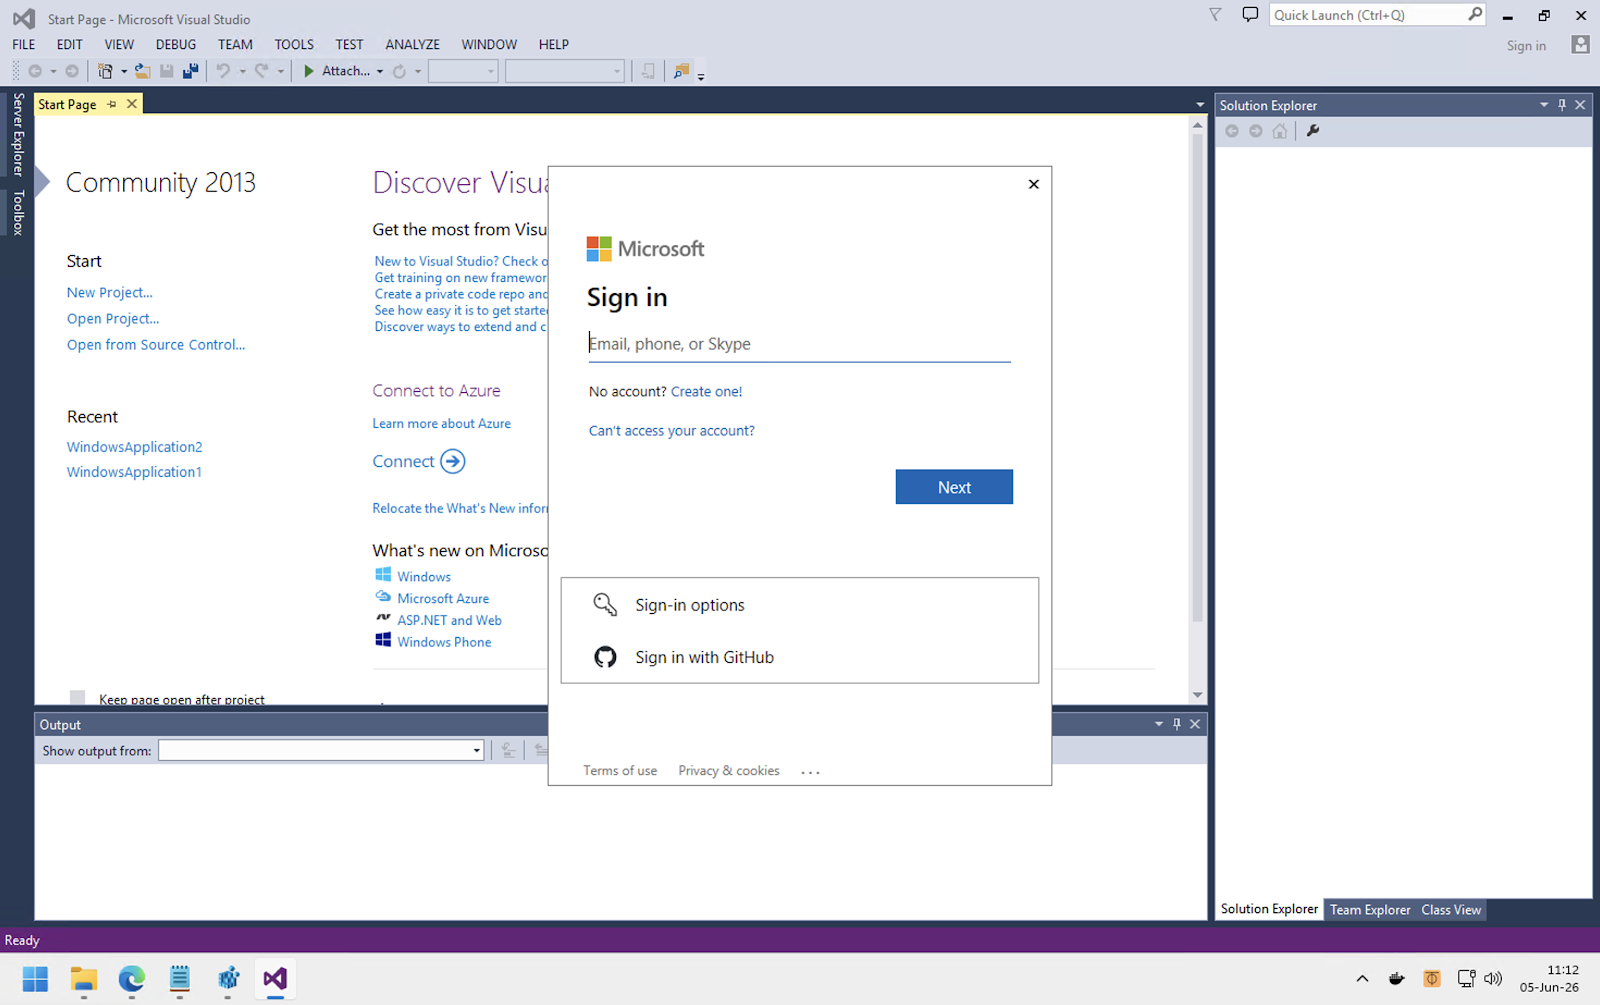
The first time you launch Visual Studio 2013, a dialog will appear asking you to sign in. If you’re using Visual Studio 2013 Community Edition, you’ll be required to sign in with a Microsoft account.
But, if you’re launching it in 2026 like I did, the sign-in dialog won’t appear. Instead, you’ll see an error message like this:
Sorry, we ran into a problem. The online service is not available. Please try again later.

Despite what the error message says, the authentication server is still online and working. You just need to enable TLS 1.2 for .NET Framework 4.0.
To do that, you’ll need to edit the Windows Registry.
If you’re using Windows 11, Visual Studio 2013 runs as a 32-bit application on a 64-bit operating system, so update the following registry values:
[HKEY_LOCAL_MACHINE\SOFTWARE\WOW6432Node\Microsoft\.NETFramework\v4.0.30319]
      "SystemDefaultTlsVersions" = dword:00000001
      "SchUseStrongCrypto" = dword:00000001
If you’re using a 32-bit operating system like Windows 10, update these values instead:
[HKEY_LOCAL_MACHINE\SOFTWARE\Microsoft\.NETFramework\v4.0.30319]
      "SystemDefaultTlsVersions" = dword:00000001
      "SchUseStrongCrypto" = dword:00000001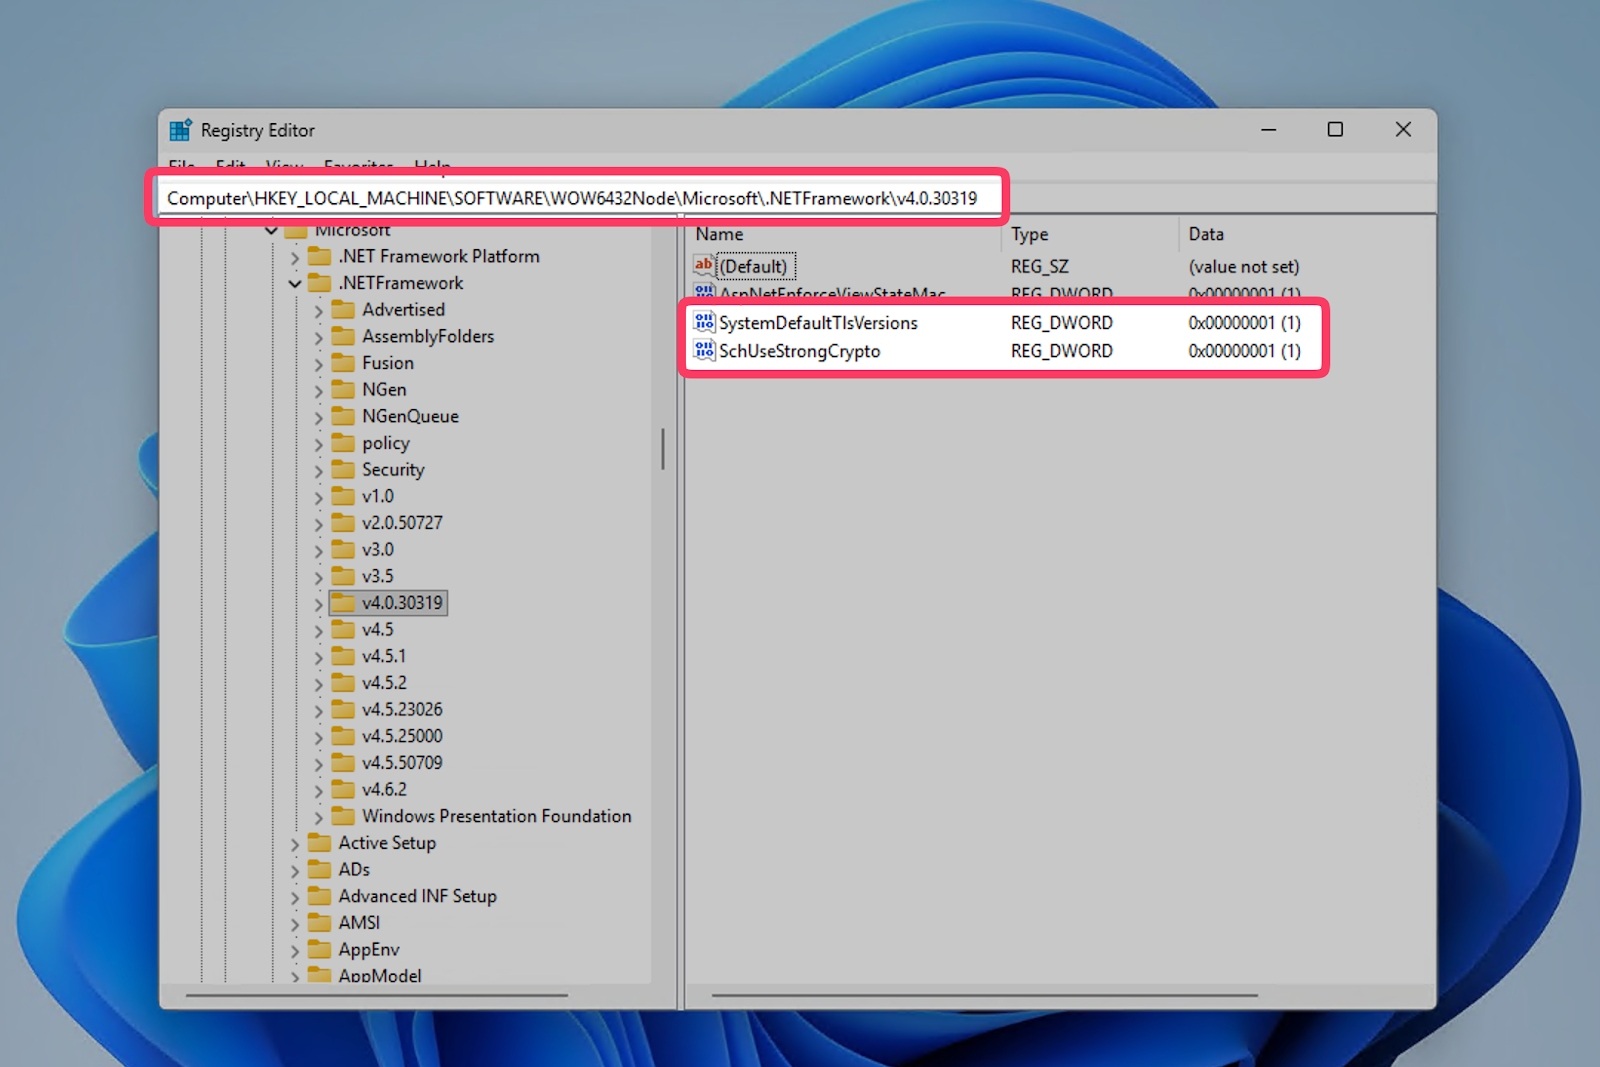
Alternatively, you can use following PowerShell script below (for Windows 11 64-bit OS):
New-ItemProperty -path 'HKLM:\SOFTWARE\Wow6432Node\Microsoft\.NetFramework\v4.0.30319' -name 'SystemDefaultTlsVersions' -value '1' -PropertyType 'DWord' -Force | Out-Null
New-ItemProperty -path 'HKLM:\SOFTWARE\Wow6432Node\Microsoft\.NetFramework\v4.0.30319' -name 'SchUseStrongCrypto' -value '1' -PropertyType 'DWord' -Force | Out-Null
Once you’ve updated the registry values, close Visual Studio 2013 and open it again. This time, the proper sign-in dialog should appear.
Sign in with your account, and Visual Studio 2013 will activate your license. You shouldn’t run into any issues the next time you launch it.
Create a New Project with Visual Studio 2013
Once it’s installed, signed in, and activated, you can start using Visual Studio 2013. I personally like to test it by creating an empty Windows Forms project.
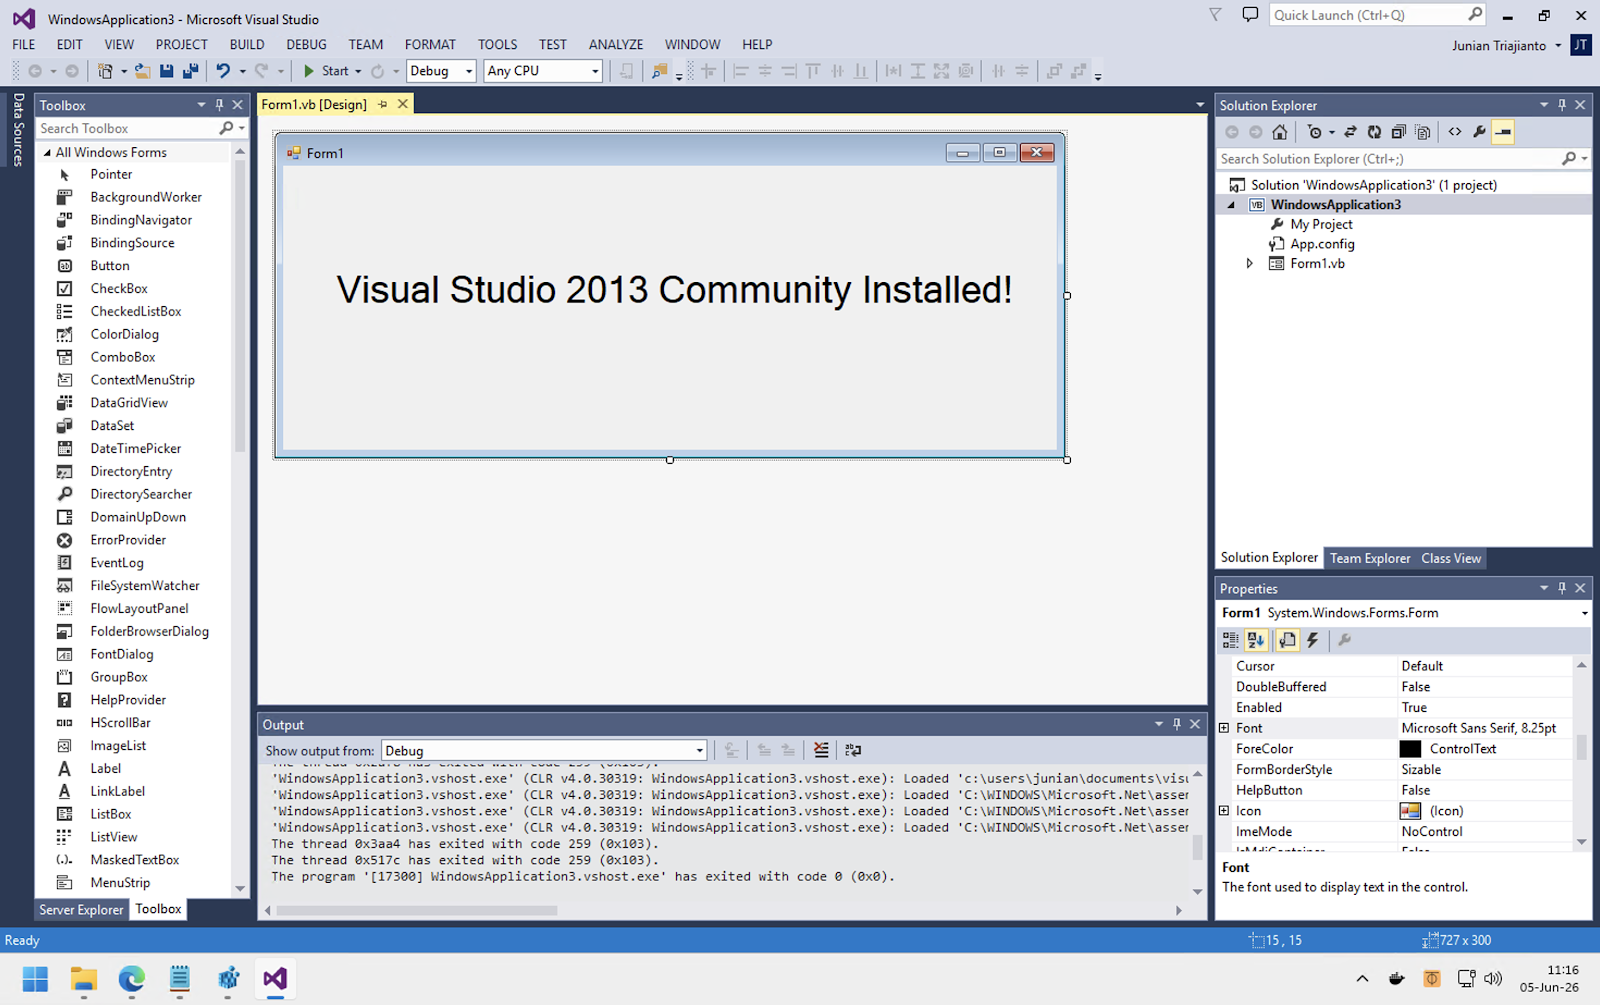
Try to make something simple. Compile and run it. Once you see the WinForms app show up, you can be confident that the installation is completed successfully.
Once you’re done with the test project, you can open your old legacy Visual Studio projects and get back to work!
Uninstall Visual Studio 2013
If maybe someday in future you no longer need Visual Studio 2013, you can uninstall it from your Windows PC.
To do that, open Settings > Apps > Installed Apps. Search for Visual Studio Community 2013 (or any other edition installed).
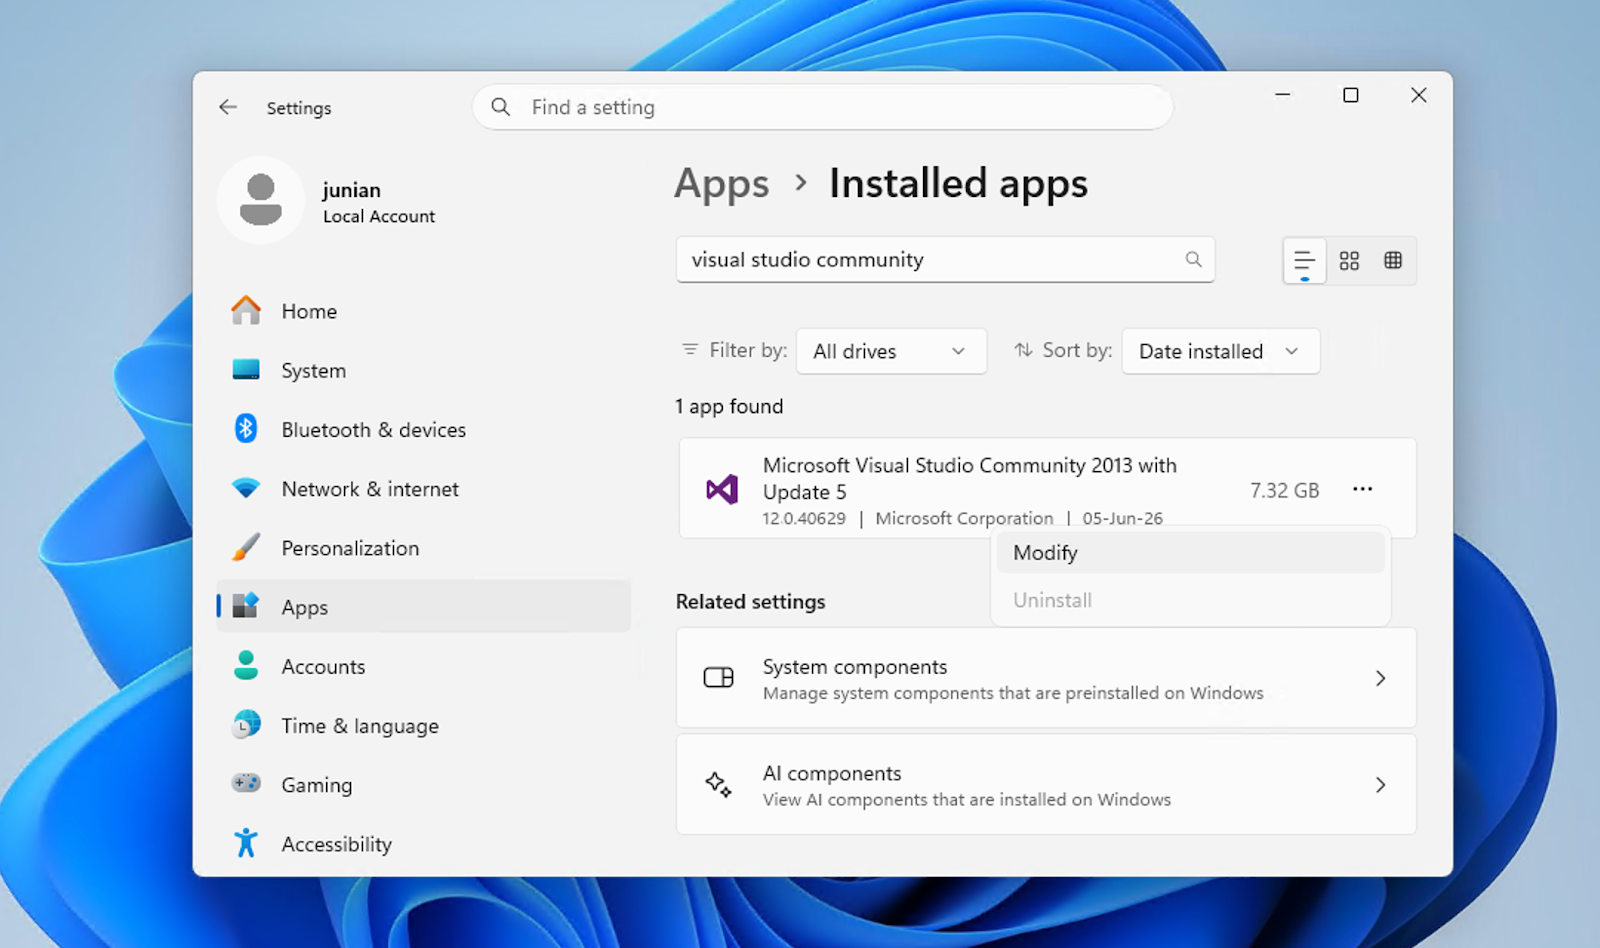
Click the three dots ... on the right, and click Modify.
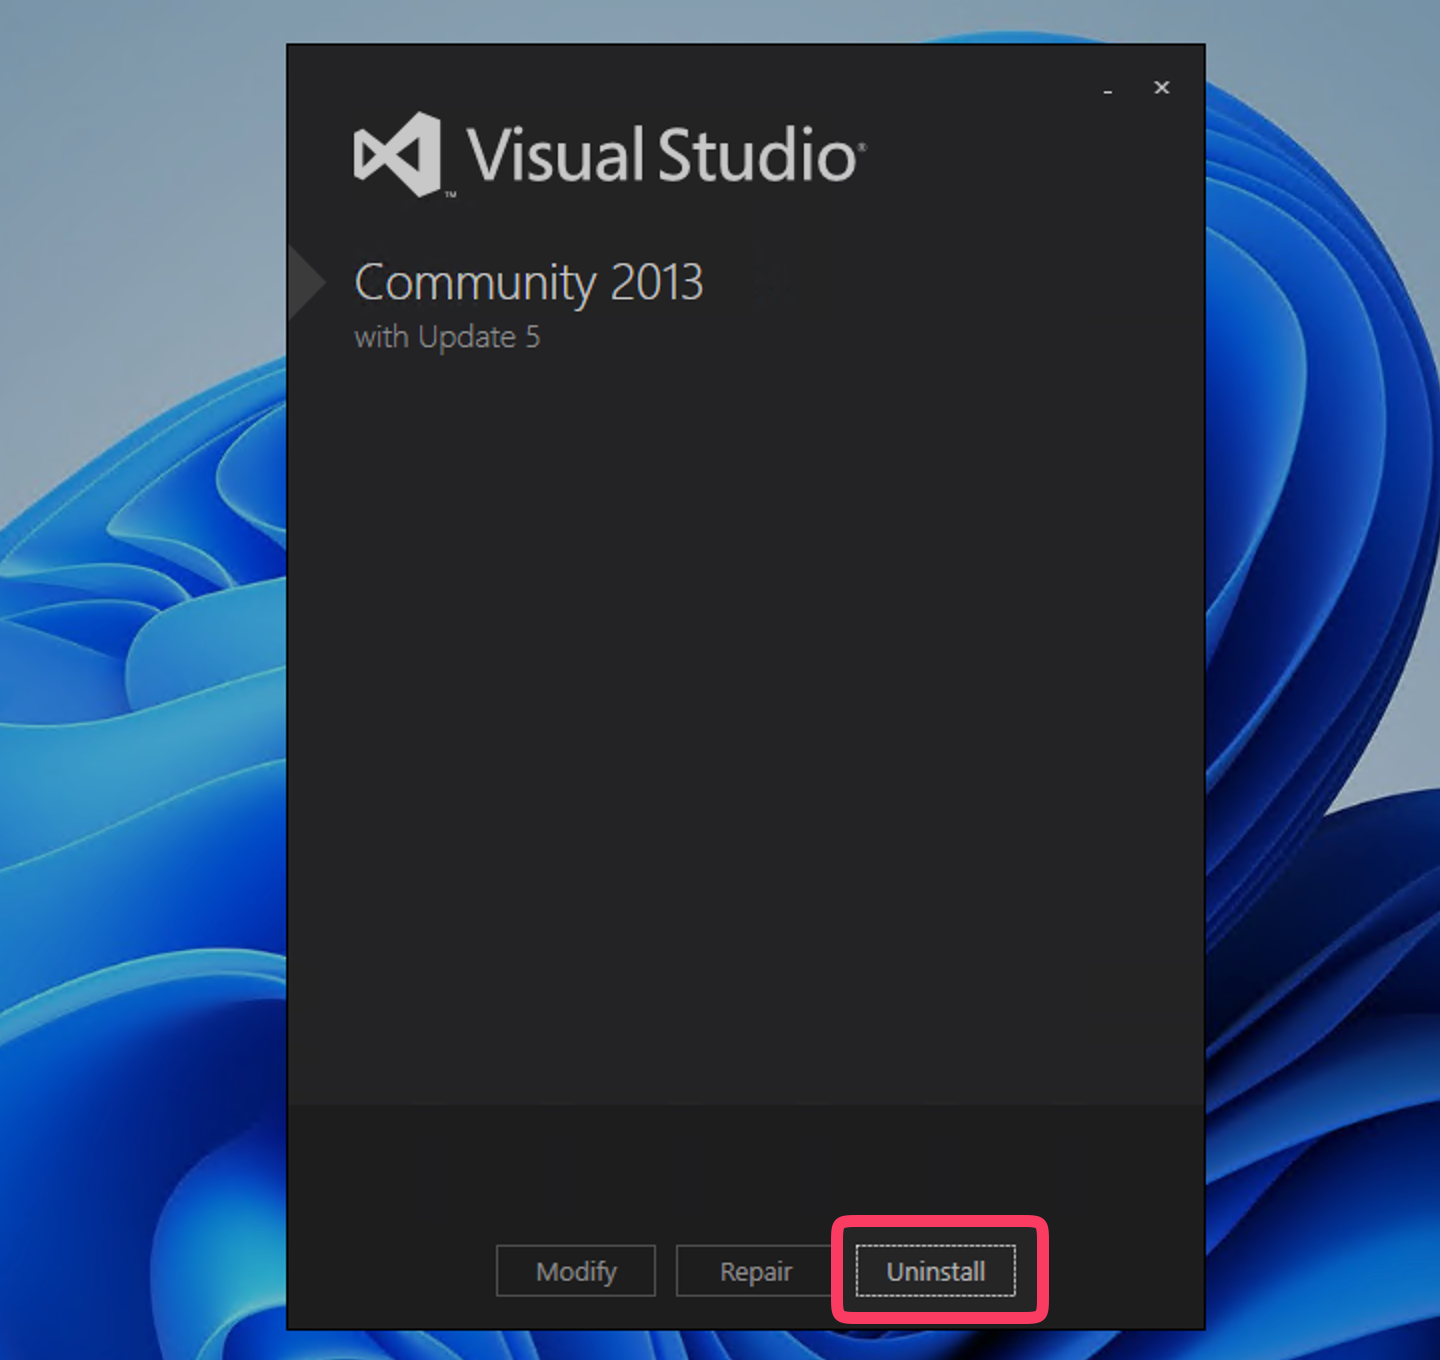
A dialog will show up, click the Uninstall button.
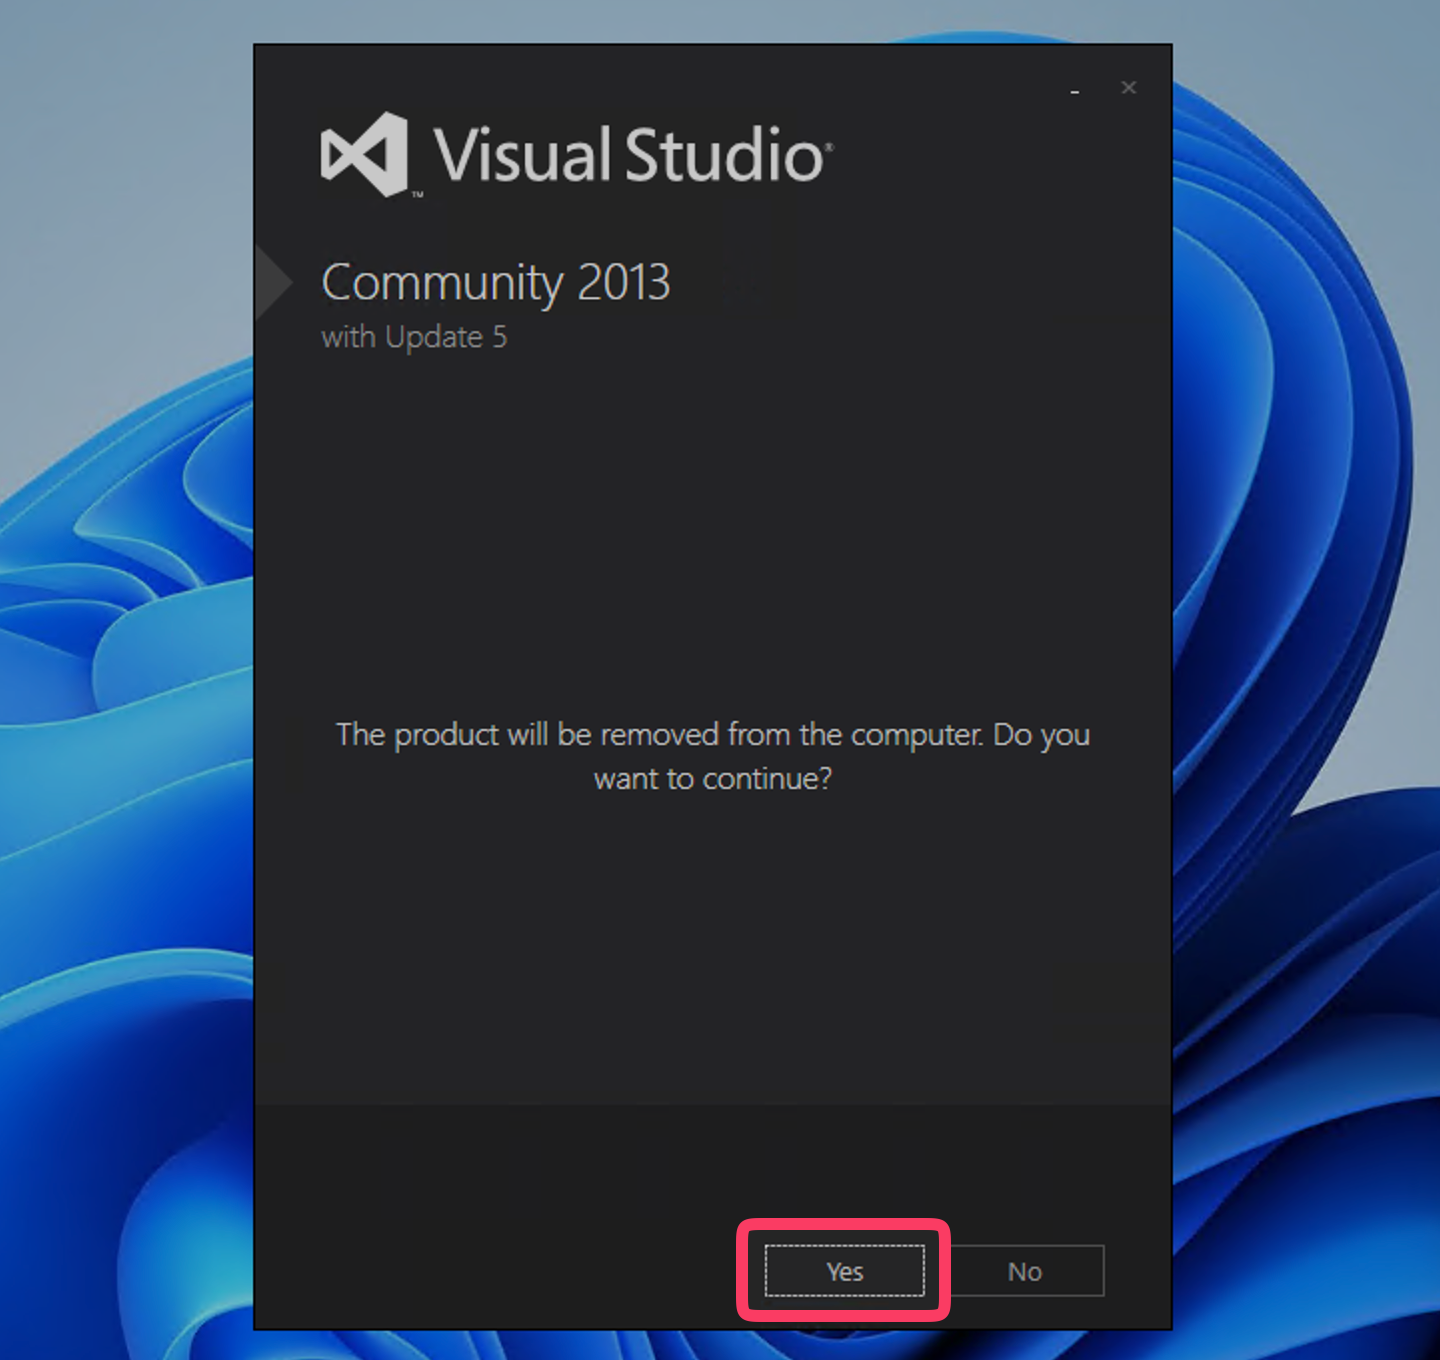
Another dialog will show up, it’s final confirmation to uninstall Visual Studio 2013. If you’re sure, click Yes. If you want to change your mind, click No.
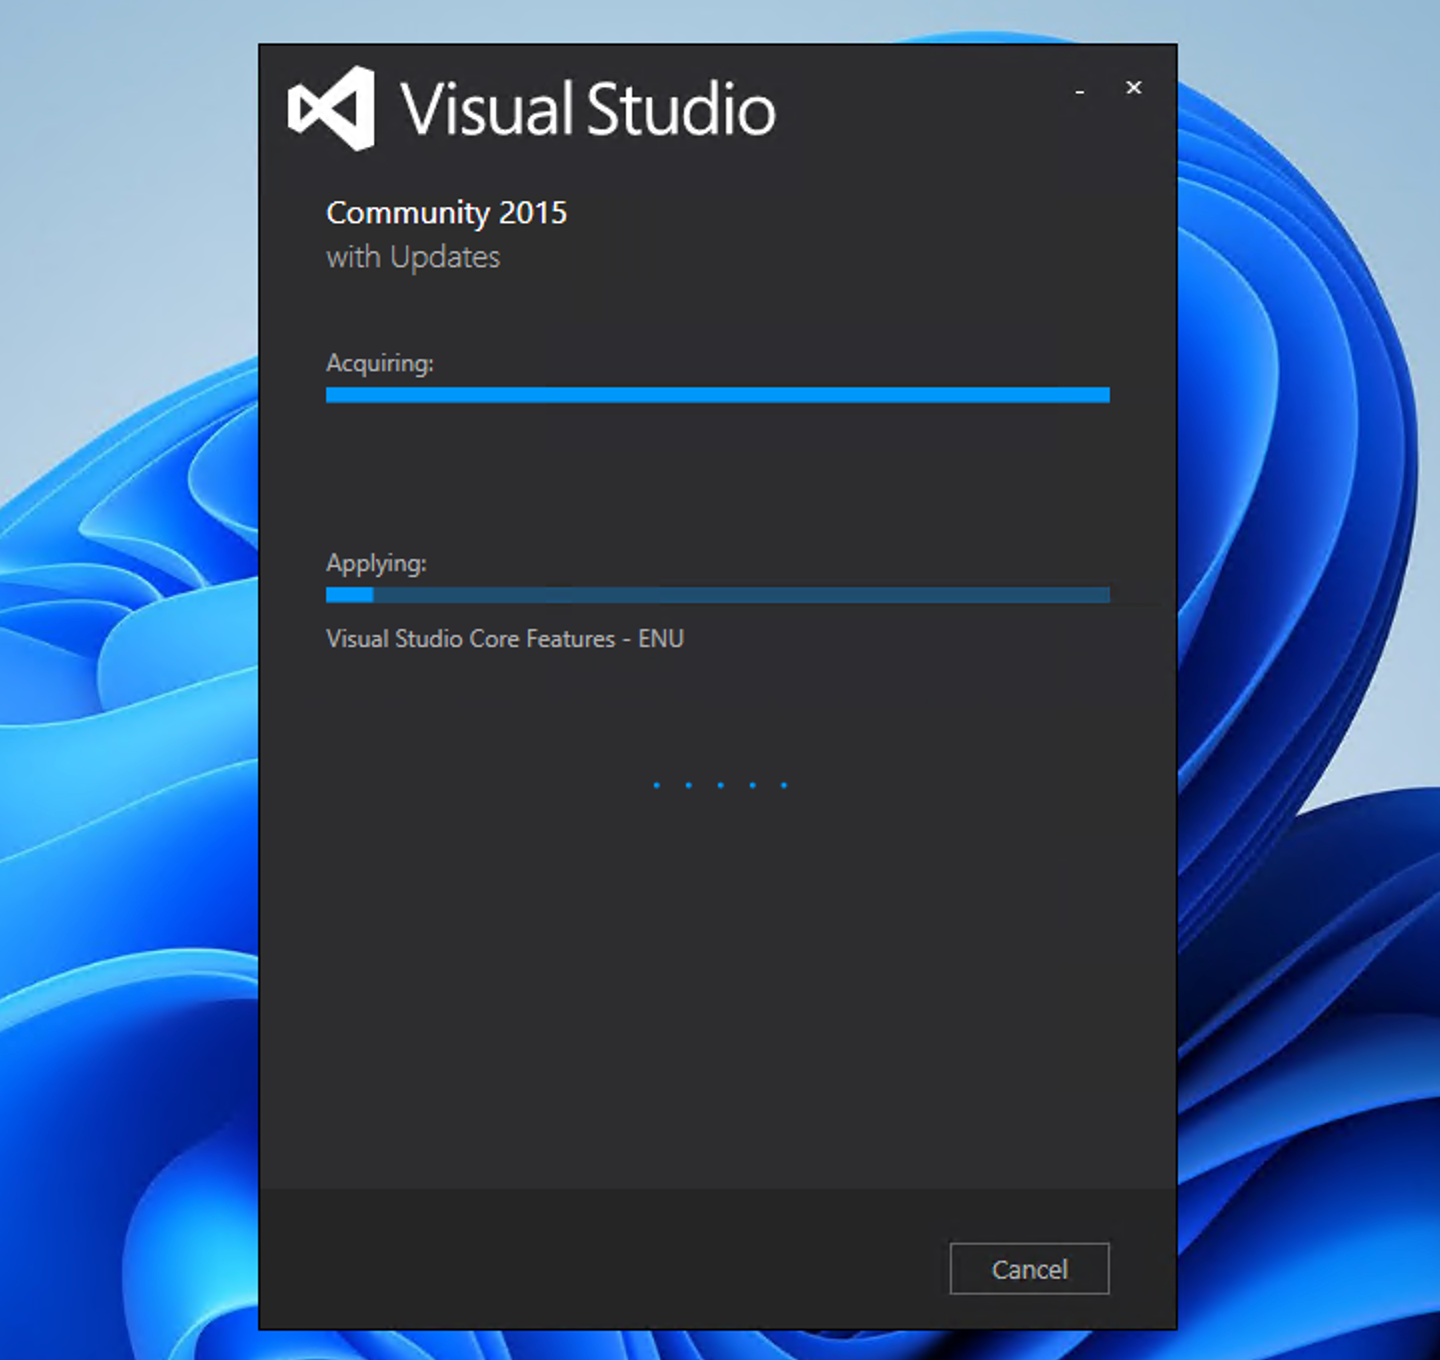
Now set back and relax. Get a coffee or do something else. It might take some time to finish the uninstallation process.
Once it’s done, the final dialog will show up. If you following text:
Setup Completed! All specified components have been uninstalled successfully.
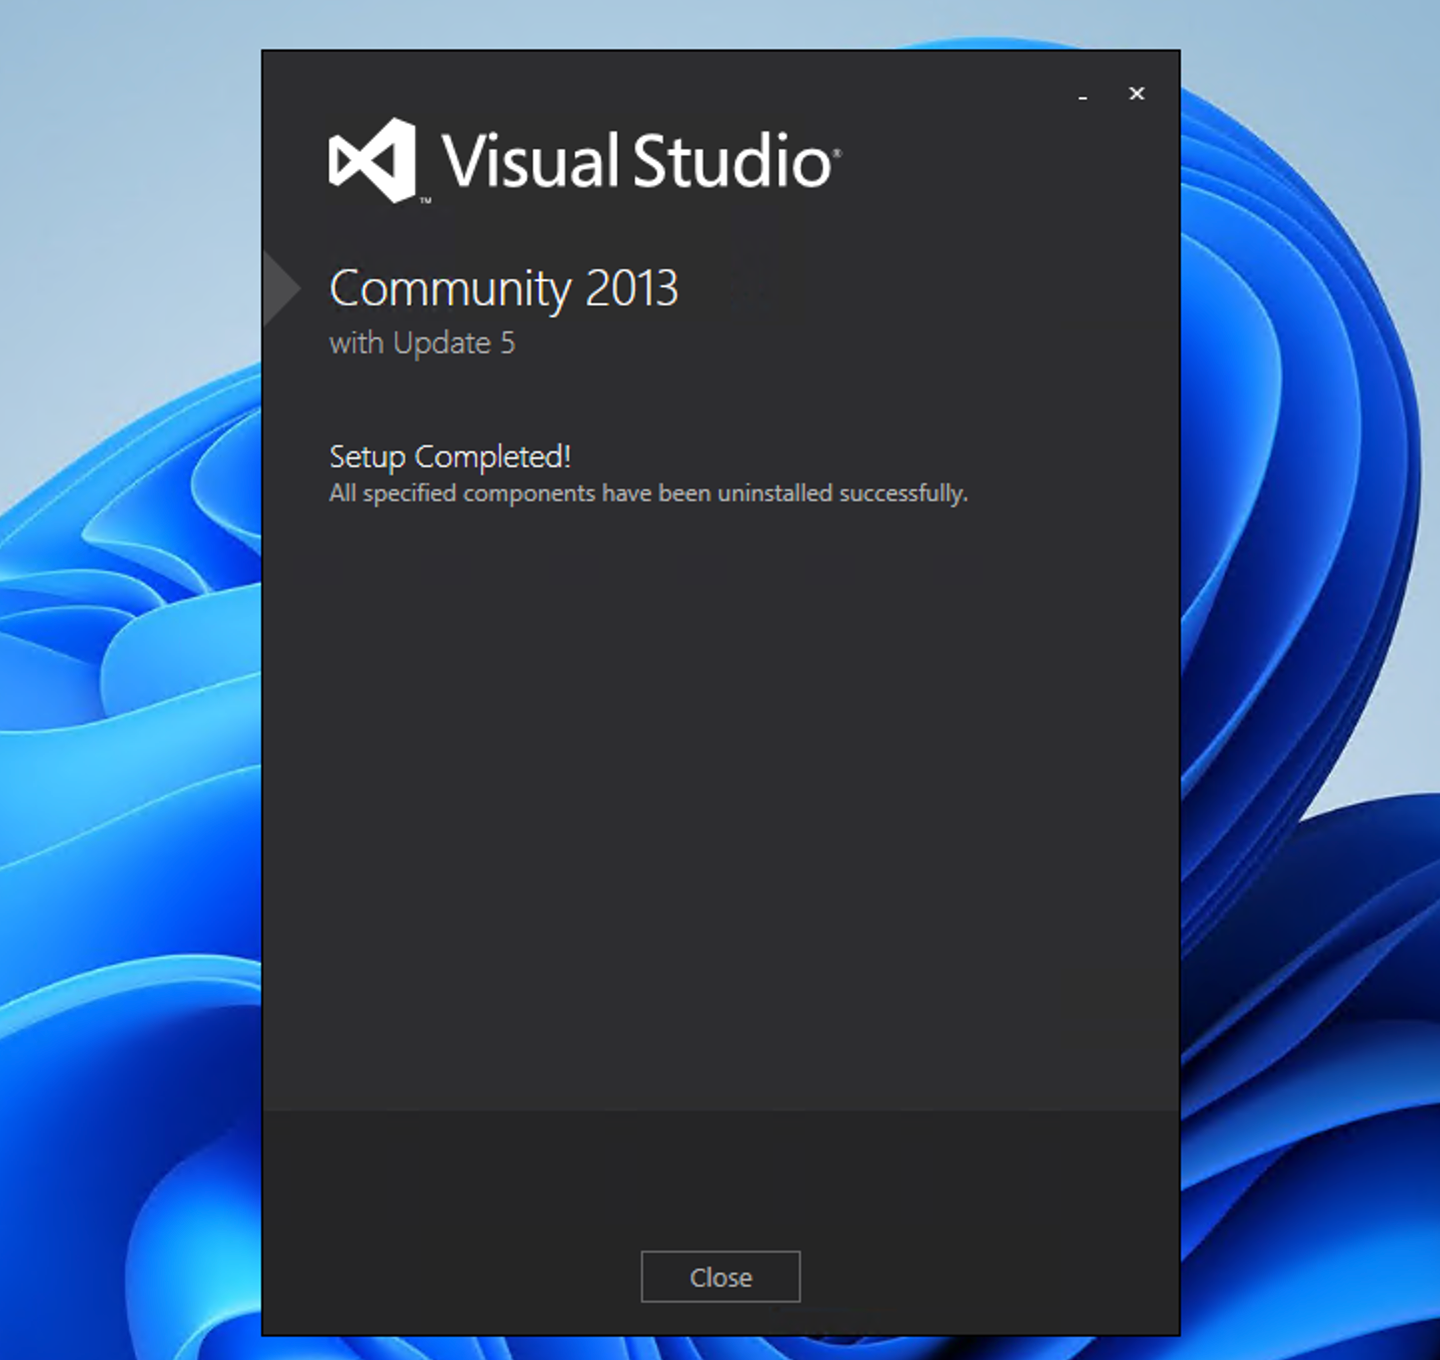
That means the uninstallation is done. And you can use the PC again.
(Optional) Uninstall Visual Studio 2013 Leftover Files
Even after you uninstall Visual Studio 2013 successfully, there are some files left behind, such as .NET Framework SDK, Microsoft Silverlight, and many more.
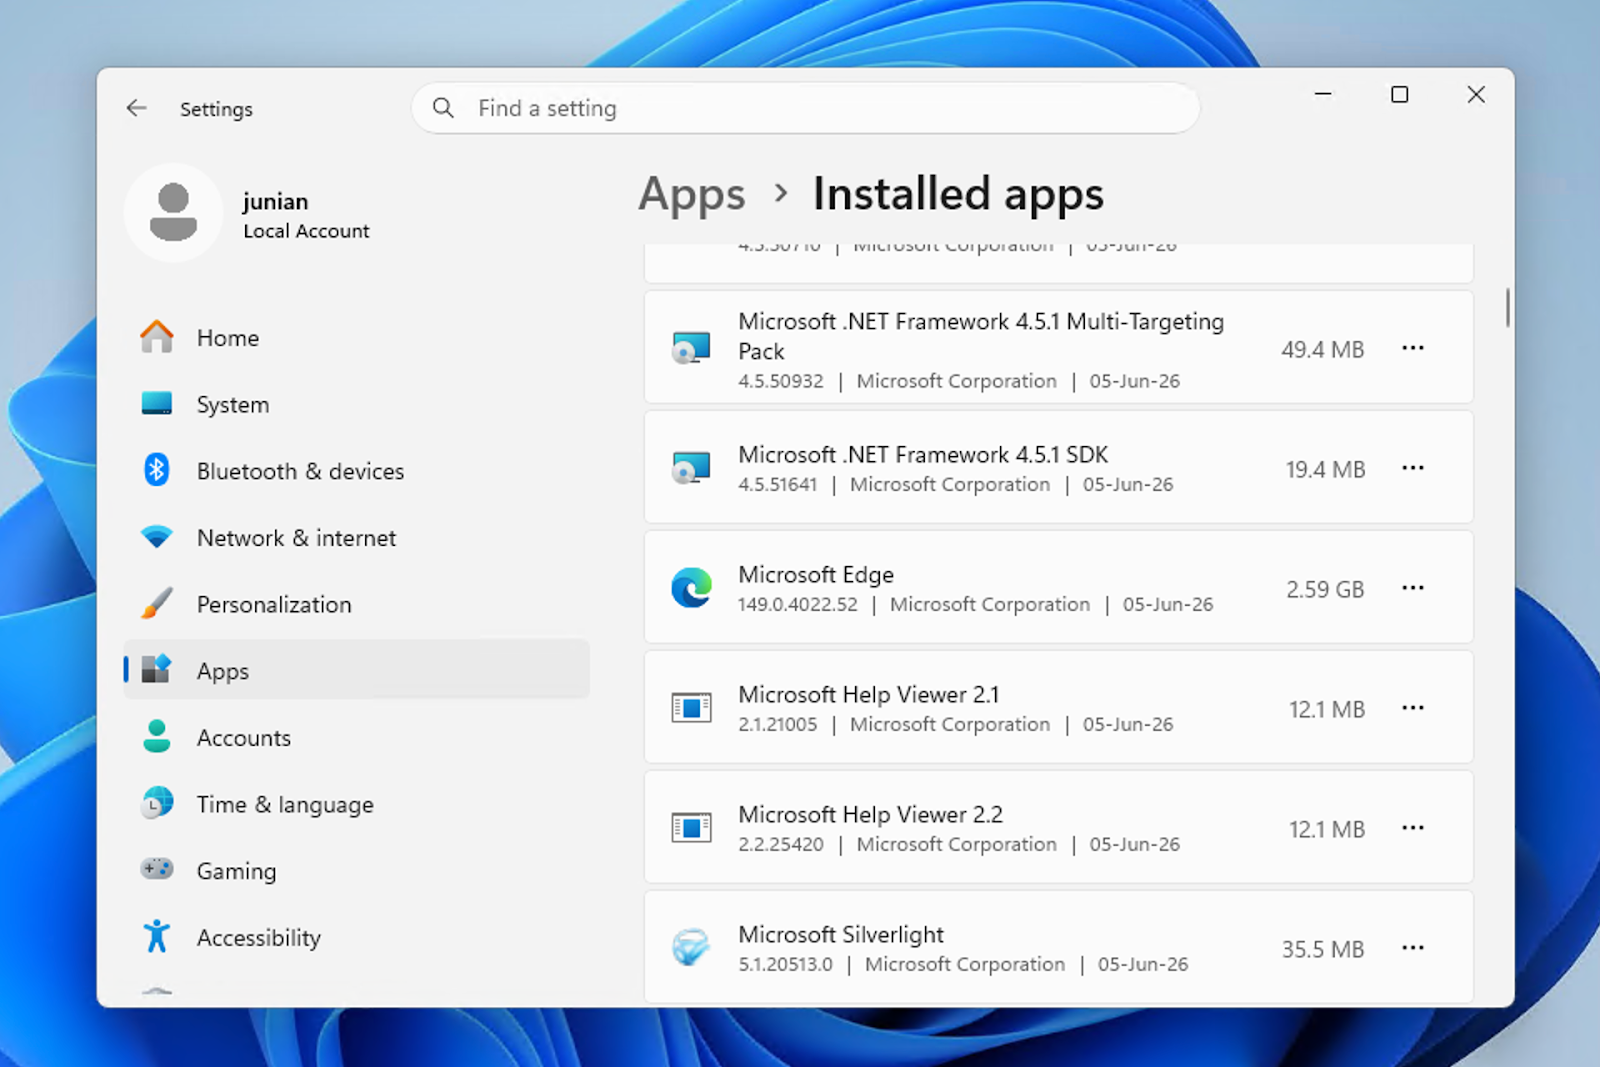
Those files could be used by other applications, so it’s okay to leave it. But, if you know that you no longer need those files, you can uninstall them one by one through Settings > Apps > Installed Apps.
Final Thoughts
That’s it for today’s post. As it turns out, installing Visual Studio 2013 on a Windows 11 PC in 2026 is still pretty straightforward!
Now you can finally fix that old legacy project that’s been running in production for years without compatibility issues.
As always, if you have any questions or know of a better method, leave a comment below. Thanks for reading, and see you next time!