
A few weeks back, before the SSD crazy price craze, I decided to get my PC a brand-new M.2 2280 SSD installed. Before using a brand-new SSD, it’s recommended to format it before use.
You can never know the SSD file system out of the factory. There are some possibilities that I know of.
- Some drives are unformatted; this will trigger an OS prompt to format it first.
- NTFS format, which is a good format for Windows users.
- exFAT format, usually for external drives. It’s portable and compatible with most Operating Systems like Windows, macOS, and Linux. But this format has a high risk of data corruption compared to other formats.
- HFS+ format, usually for drives marketed for Mac users.
- FAT32, which is the worst but good for portability. Usually for flash drives and SD Cards.
Which format to choose depends on the use case. But since I’m talking about Windows, the only good choice for internal SSD or HDD is NTFS.
Here’s how to format your new SSD or HDD with NTFS format on Windows 11.
Video
Not in the mood for reading? Watch the video instead.

Formatting a Brand New SSD or HDD on Windows 11
To format your newly installed drive, open File Explorer.
- Right-click on the drive you want to format. In my case, the newly installed SSD is labeled as
D:\drive. - Click Format… from the right-click menu.
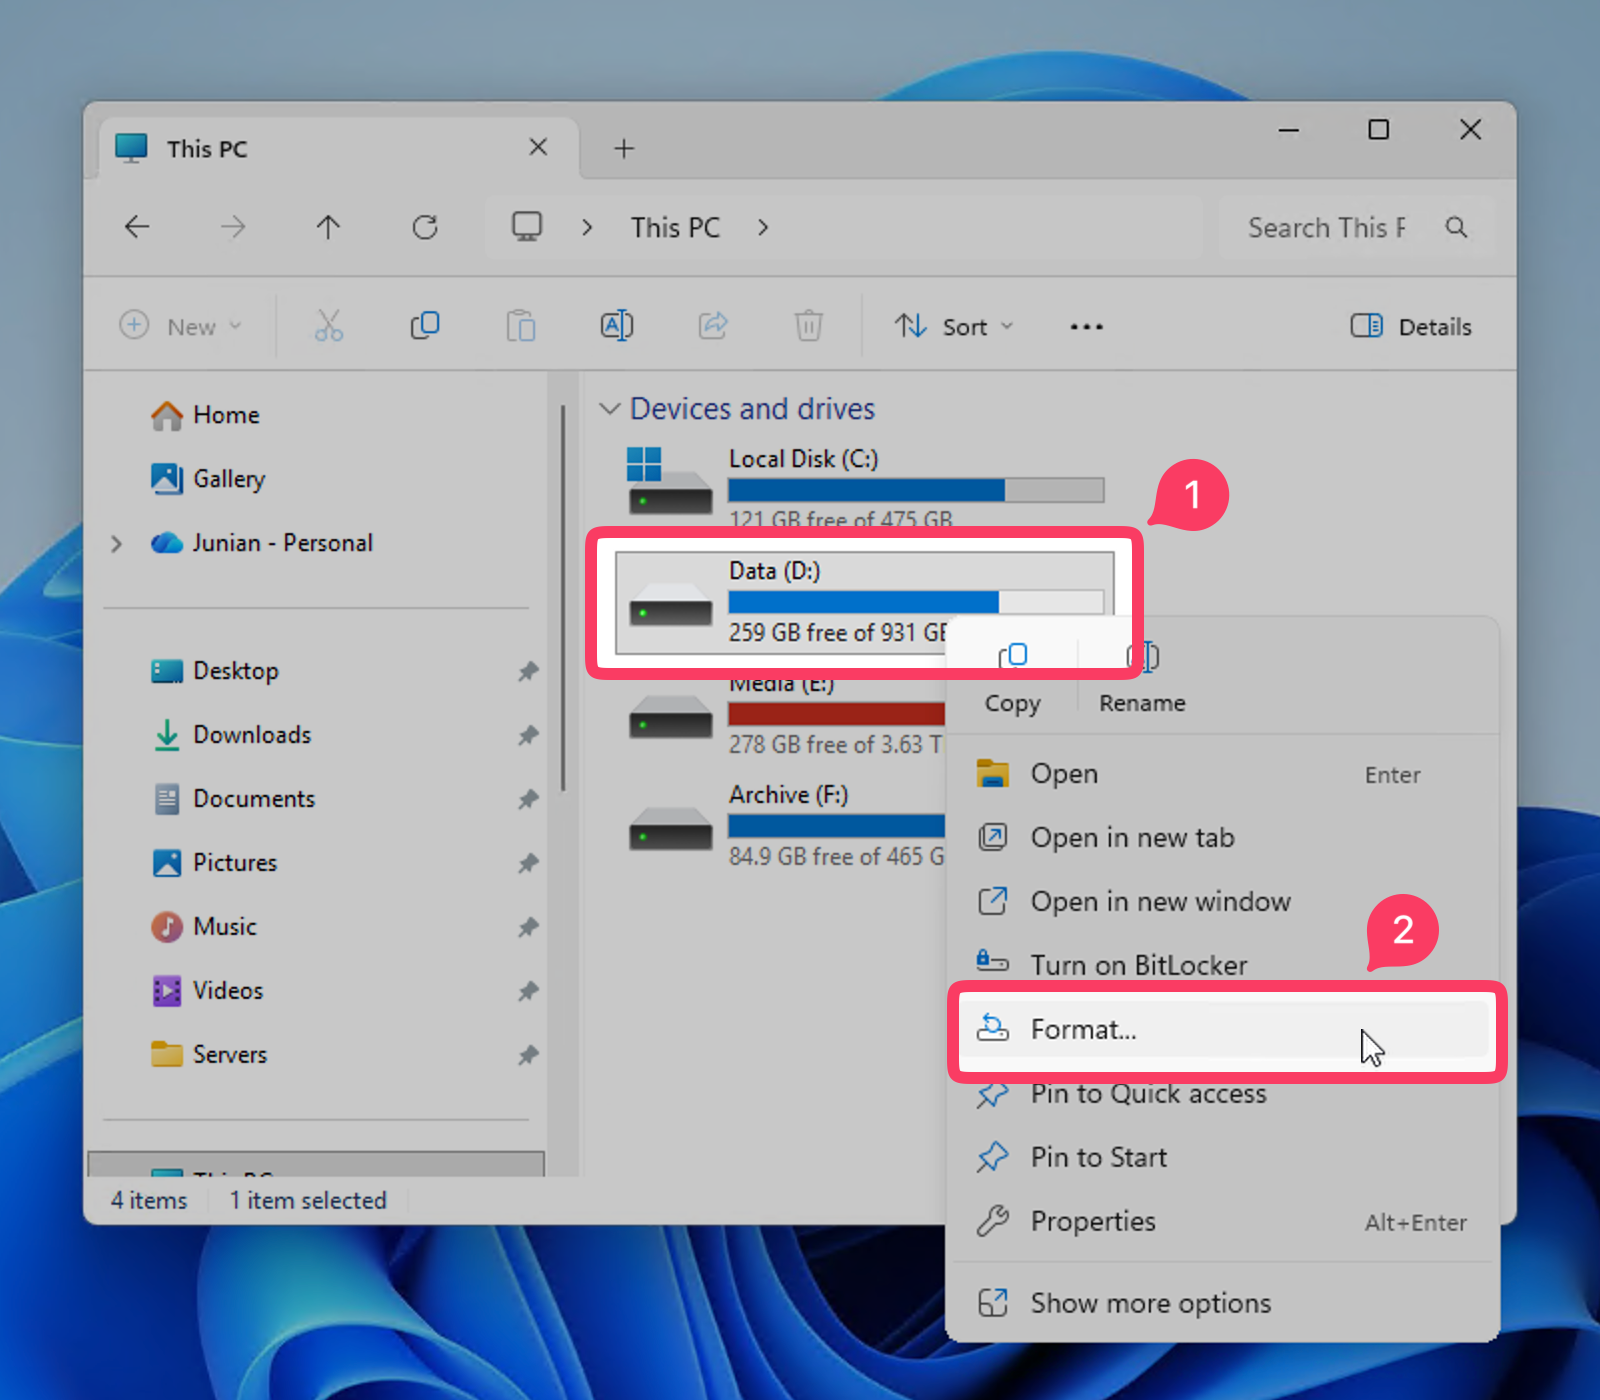
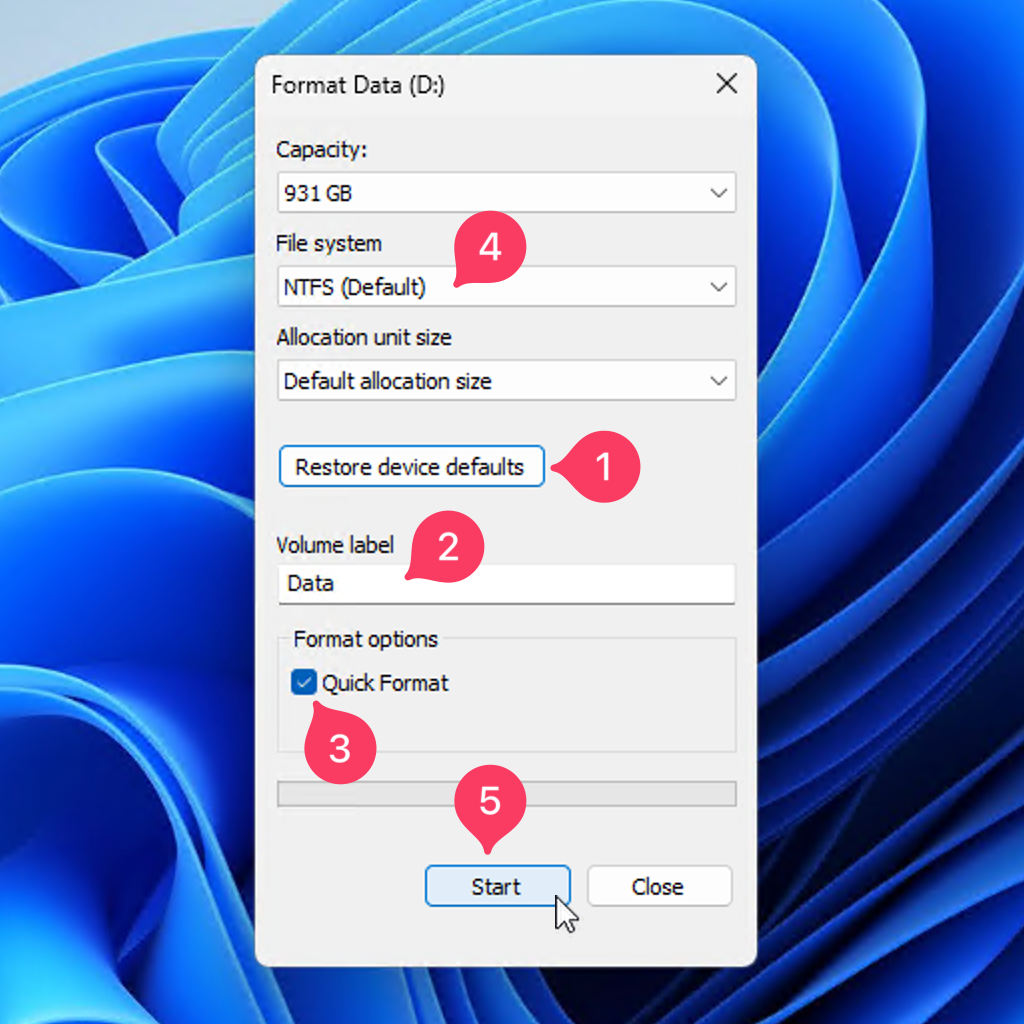
A new format dialog will show up; now do the following steps.
- Click Restore device defaults; this will let Windows choose the best options for your selected drive.
- Enter the Volume label with a memorable name. In my case, I name my drive Data because this will be the place I store my data.
- If it’s a new drive, leave Quick Format checked. But if it’s an old drive and you’re paranoid about whether your old data can be recovered, you can always uncheck it. If Quick Format is disabled, the formatting process will take a longer time.
- Optionally, if you don’t like the default format Windows chose for your drive, you can always change the File System.
- Once everything is set, click the Start button to begin the formatting process.
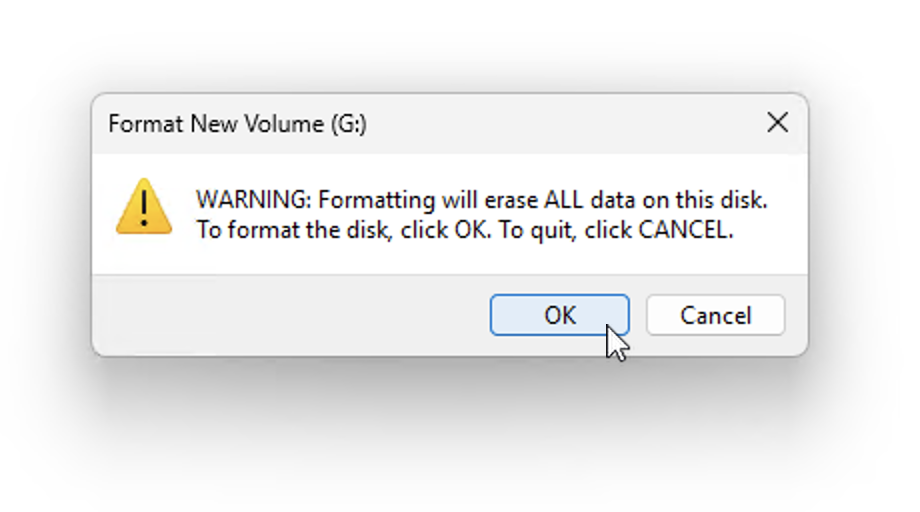
Before the formatting process begins, Windows will show you one final warning confirmation dialog. Click OK if you’re sure, or Cancel if you change your mind.
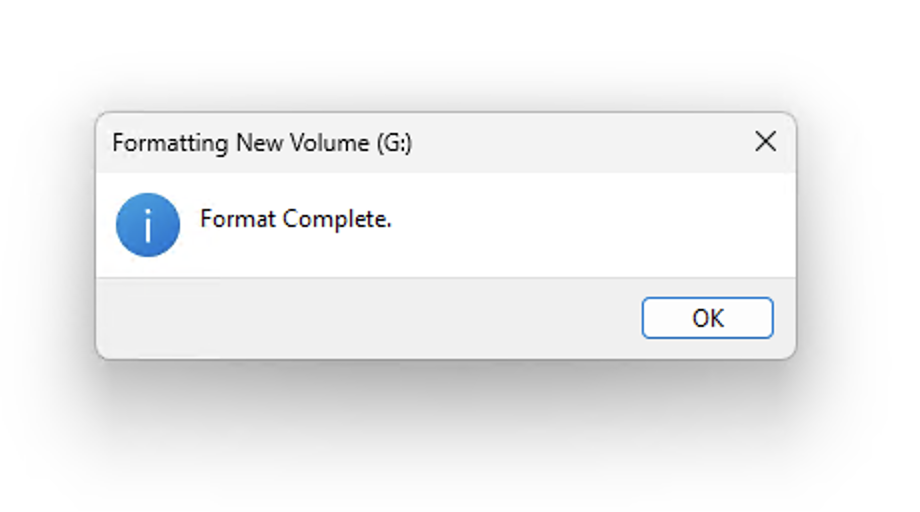
Just wait for the formatting process; it shouldn’t take too long. Once the formatting process is finished, the final dialog will show up to show that everything is finished successfully.
Now you can use your newly installed SSD or HDD for anything you need.
Enjoy the extra storage space!
Final Thoughts
That’s all for today’s post. Very simple tutorial, but hopefully useful too.
As usual, if you have any questions or a better method, leave a comment below. Thanks for reading, and see you next time!